
Form & Technique
Pushups for Beginners Women: Form, Modifications, Progression
Pushups for beginners women: master proper form with safe modifications (knee, incline, wall), plus a 4-week progression plan.


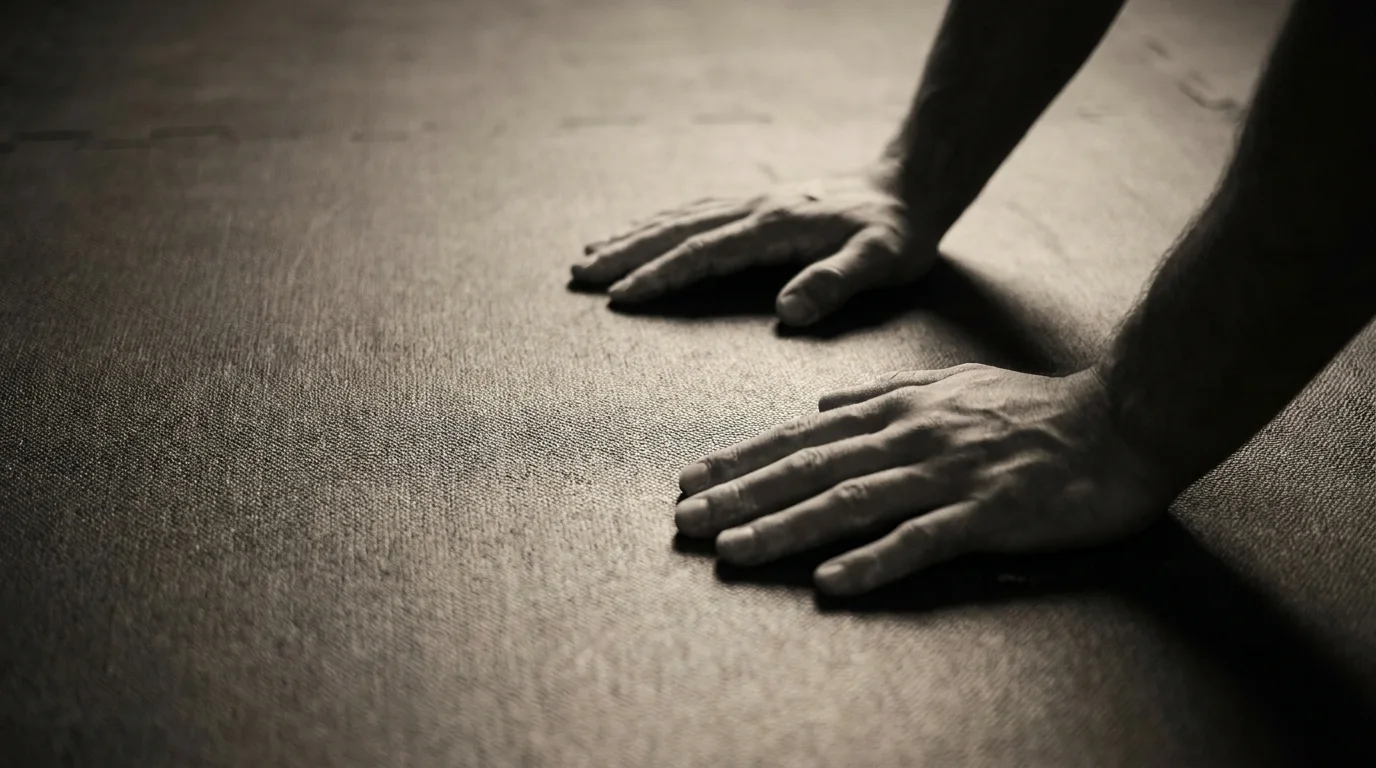
Push-Up Form, Wrist-Friendly Warm-Ups, and Common Mistakes
Video-step cues for correct form (front view)
- Start in a high plank: wrists under shoulders, fingers spread, neck neutral, gaze forward.
- Brace your core and glutes; hips stay level from head to heels.
- Lower with control: elbows about 45 degrees, chest toward the floor, keep a straight line.
- Press up through the palms, exhale; avoid shrugging or letting shoulders creep up.
- Finish tall and reset for the next rep. For pushups for beginners women, these cues help you build a solid base.
Common push-up mistakes and coaching cues
- Hips sag or rise: tighten the core, level the hips.
- Elbows flare beyond 45 degrees: tuck elbows closer to the body for shoulder safety.
- Head drops or looks up: keep neck neutral, gaze a few inches ahead.
- Shallow range: lower until chest nears floor; use incline if needed to build strength.
Breathing, tempo, and mobility before and after
- Wrist-friendly warm-ups: circles, palm-to-floor stretch, finger extensions, and gentle forearm swings; add shoulder mobility work.
- Inhale on the way down, exhale on the way up; aim for a steady 2-second descent, 1-second press.
- Aftercare: chest and wrist stretches; light scapular retraction movements.
Modifications and Accessible Variations: Knee, Incline, and Wall Push-Ups
These options expand pushups for beginners women by giving safe, low-load ways to build strength. Video step-by-step cues can guide each variation, and you’ll learn wrist and shoulder safety as you progress.
Knee push-ups: step-by-step cues
- Start on hands and knees, hands under shoulders, spine neutral, core tight.
- Keep hips stacked with your knees; look slightly down to align your neck.
- Bend elbows to lower chest toward the floor, ribs tucked, elbows at about 45 degrees.
- Lower until your chest is a few inches from the ground, then press through your palms to straighten arms.
- Exhale as you push up; reset with hips square and shoulders stacked over wrists.
- Wrist safety: press through the base of the palms, keep wrists aligned under shoulders.
Incline push-ups: setup and cues
- Find a sturdy surface (counter, bench, or low table); hands shoulder-width apart, wrists under shoulders.
- Step back to form a straight line from head to heels; engage core and glutes.
- Lower chest toward the incline with elbows at about 45 degrees; avoid letting hips sag.
- Push back to start, exhaling as you rise.
- Progression: move to a lower incline (closer to floor) as strength improves for the best incline push-ups for beginners.
Wall push-ups: setup and cues
- Stand a foot to two feet from a wall; hands at chest height, wrists under shoulders.
- Lean in, keeping a straight line from head to pelvis; engage core.
- Bend elbows to bring chest toward the wall, elbows at ~45 degrees.
- Push away to return to start; keep neck relaxed and gaze forward.
- Tip: adjust distance to increase or decrease difficulty while preserving shoulder and wrist safety.
4-Week Push-Up Progression Plan, Breathing, Tempo, and Recovery
Use this 4-week push-up progression to build control and confidence while protecting shoulders and wrists. If you're wondering how many pushups a day for beginners, aim for 3 sessions per week with about 20–30 total reps, then scale up as you feel steadier.
Week-by-week progression: reps, sets, and when to switch to full push-ups
- Week 1: 3 sets of 6–8 knee or incline push-ups; rest 60–90 seconds. Switch to full push-ups on the floor when you can maintain clean form for all sets.
- Week 2: 4 sets of 6–10 knee/incline push-ups; look for smoother reps. If form holds, try a few full push-ups mid-session.
- Week 3: 4 sets of 8–12; add 1–2 slow negative reps per set. Consider more full push-ups if able without compromising form.
- Week 4: 3–4 sets of 12–15; aim for most reps as full push-ups. If still building, stay with knee or incline variants until you’re ready.
Tempo and breathing cues to optimize form
- Exhale as you press up; inhale on the way down.
- Use a steady tempo: down for about 2 seconds, up in 1 second.
- Brace the core, keep hips level, and maintain a neutral neck.
Recovery, rest days, and injury prevention
- Schedule 2–3 non-consecutive push-up days per week; rest 60–90 seconds between sets.
- Begin each session with a light shoulder/wrist warm-up and finish with gentle mobility.
- If any pain flares, back off volume or revert to a easier variation. Prioritize shoulder and wrist safety to support consistent progress.
Frequently asked questions
What is the correct push-up form?
Keep a straight line from head to heels with wrists under shoulders, fingers spread, and a braced core. Lower with elbows about 45 degrees and the chest toward the floor, then push back up with control while staying torso-stable and neck neutral.
What are the best push-up modifications for beginners?
Start with wall push-ups, then incline push-ups, and progress to knee push-ups as your strength builds. Move to a full push-up only after you can maintain a solid plank and a controlled tempo.
How can a woman progress from knee or incline push-ups to full push-ups?
Use a gradual ladder: start with knee or incline variants you can do with good form, then build capacity week by week. When ready, switch to a full push-up in the same plank position with a deliberate tempo, pausing at the bottom if needed.
What should I do if I have wrist pain while doing push-ups?
Warm up the wrists (circles, palm-to-floor stretches) and keep wrists aligned under shoulders, pressing through the base of the palms. If pain persists, switch to incline or wall push-ups to unload the wrists and seek guidance if needed.
About the authors

Goran Huskić
Co-founder · Professional basketball player
Goran Huskić is a Serbian professional basketball player — a 6'11" center currently playing for Monbus Obradoiro in Spain's Primera FEB. He won the 2019–20 Basketball Champions League with San Pablo Burgos and has competed professionally across Spain, Germany, Lithuania, Serbia and the United States. He co-founded PUSHapp to bring pro-level training discipline to everyday workouts.
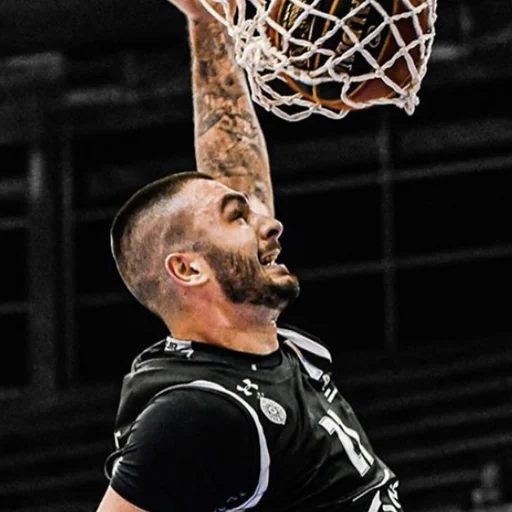
Nikola Janković
Co-founder · Former professional basketball player
Nikola Janković is a former professional basketball player — a 6'9" forward and the 2016–17 ABA League MVP — who played for Partizan, Union Olimpija and Mega, among others. Today he runs a pilates studio and gym focused on strength, mobility and overall wellbeing. He co-founded PUSHapp to make consistent, measurable training simple for everyone.