Form & Technique
How to Do a Pushup: Master Proper Form
Learn how to do a pushup with flawless technique, beginner-friendly progressions, and variations to target chest, triceps, and core.
Mastering Push-Up Form: Setup, Alignment, and Cues
Body position and spinal alignment
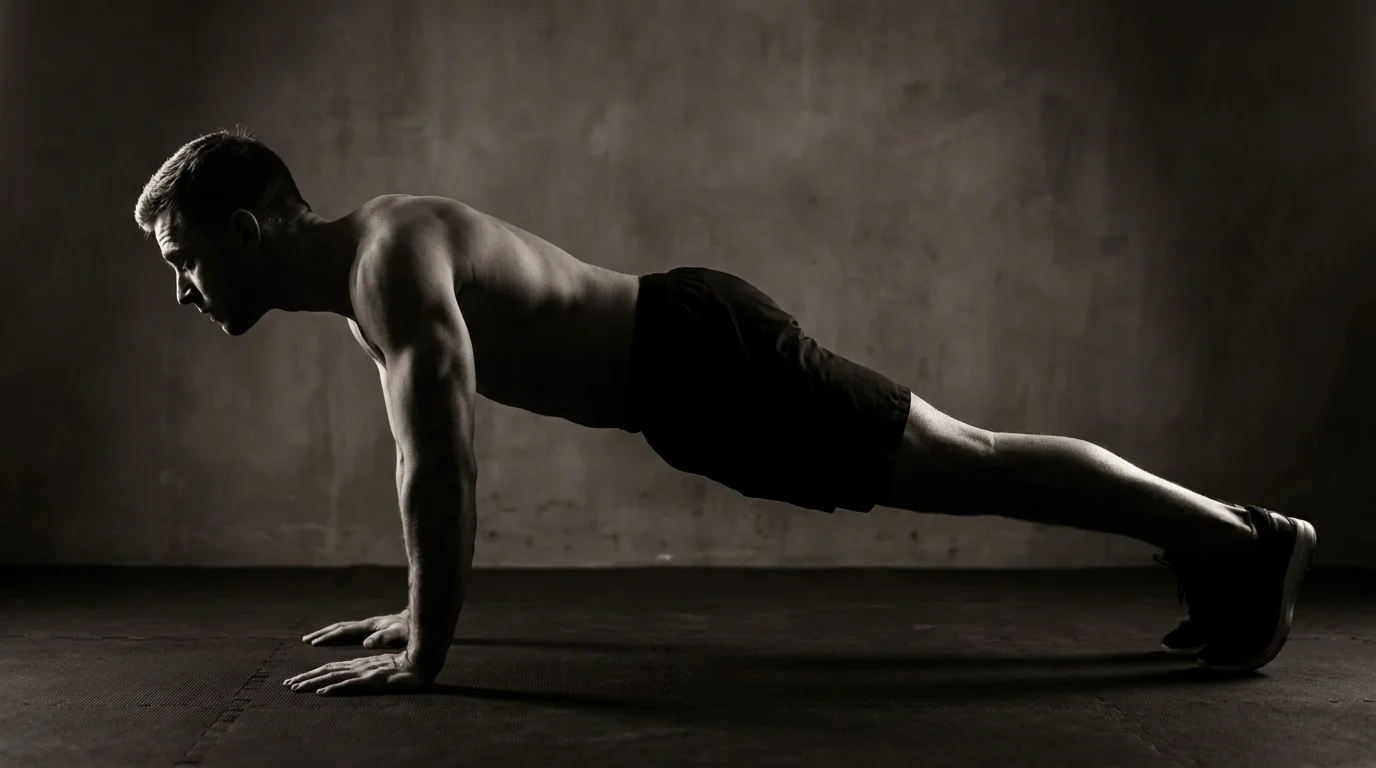
- Maintain a neutral spine: head aligned with your spine, gaze slightly forward.
- Keep hips in line with shoulders and knees or toes, avoiding sagging or piking.
- Distribute weight through the midfoot, not the toes or heels.
Hand placement and forearm position
- Place hands slightly wider than shoulder width, fingers facing forward.
- Wrists stacked under shoulders; forearms vertical or angled slightly inward on the descent.
- Elbows track about 45 degrees from the torso to protect the shoulders.
Scapular control and ribcage engagement
- Keep scapulae depressed and steady; avoid shrugging.
- Brace the rib cage; inhale to expand the ribcage, exhale as you press up.
- Maintain control of the shoulder blades to prevent flaring or winging.
Tempo, breathing, and cues
- Use a steady tempo: down 2–3 seconds, up 1–2 seconds.
- Exhale on the pressing phase; maintain smooth, consistent breathing.
Core and glute engagement
- Brace the core and engage glutes to keep a straight line from head to heels.
- Don’t let hips sag or rise ahead of the chest.
Common mistakes to avoid
- Sagging hips, neck tension, or elbows flaring out.
- Lost scapular control, ribcage flare, or holding your breath.
- Shallow range of motion or inconsistent tempo.
Push-Up Variations and Progressions by Level
Beginner-friendly progressions (knee to incline)
- Knee push-up: Start on hands and knees with a straight line from head to heels; lower until your chest approaches floor level and press up. Aim for 6–12 reps; 2–3 sets.
- When you can perform 12 reps with good form, progress to incline push-ups: place hands on a bench or table, hips in line, chest lowering toward the surface. Start with a higher incline and gradually lower it as strength improves.
Hand position and grip variations
- Standard grip: hands under shoulders, about shoulder-width apart.
- Wide grip: widen hands to emphasize the chest.
- Diamond push-up: hands close under the chest to shift load toward the triceps.
- Staggered stance: one hand forward, the other back; switch sides to balance development.
- Pike position: hips raised; shoulders work harder—wait until you’ve mastered flat push-ups.
Common variations (wide, diamond, staggered, pike)
- Apply the grip and stance changes above to target different muscles while maintaining form and a steady core.
Advanced progressions (half-push-up to one-arm)
- Half-push-up: descend only part way or pause mid-range to build control.
- Move to one-arm push-up progressions: start with assisted or partial versions, then progress toward a full one-arm push-up with safe, progressive loading.
Incline push-up benefits and technique
- Benefits: eases beginners into pushing while preserving technique; technique cues: keep the spine neutral, elbows at about 45 degrees, press through the palms to engage the chest and shoulders.
Form Flaws, Cues, and Safety: Elbows, Shoulders, Wrists
Elbow tracking and shoulder alignment cues
- Common mistakes: elbows flaring out or collapsing inward. Aim for elbows at about 45 degrees to your torso, or keep them close to your body for shoulder comfort.
- Keep shoulders depressed and away from the ears; press through the chest while maintaining a stable over-shoulder setup.
- Move with control so the shoulder blades stay active but not pinched.
Wrist comfort and alignment
- Hands under shoulders; wrists in a neutral position, not hyperextended.
- If wrists bother you, use push-up bars, dumbbells, or fists to reduce strain; spread the fingers and press through the base of the palms.
- Avoid sinking weight onto the wrists; distribute load evenly across the forearms.
Scapular stability and ribcage engagement cues
- Brace the core and keep ribs down to prevent flaring or sagging hips.
- Maintain stable shoulder blades as you move; think “press from the floor, not from the neck or arms.”
- Steady scapular position supports long-term shoulder health.
Tempo, breathing, and control
- Use a deliberate tempo: 2 seconds down, 1 second hold, 1 second up; exhale on the push.
- Maintain even weight distribution; avoid hollow or piked hips.
Warm-up, mobility, and injury prevention
- Warm wrists and shoulders with gentle circles and light band work.
- Do scapular push-ups or wall slides before loaded reps; stop if sharp pain appears and reassess form.
Structured Push-Up Progression Plan: Weeks to Full Power
Week 1–2: Establishing basics (knee/incline)
- Frequency: 2–3 days/week; 2–3 sets of 6–8 reps (knee or incline); tempo 3–0-1-0; rest 60–90s.
- Form focus: hands under shoulders, core braced, hips neutral. If you’re unsure how to do a push-up, start with knee or incline to learn the line.
- Soreness and safety: mild DOMS expected; back off if pain; progress only when form is solid.
Week 3–4: Building strength and endurance (standard push-ups, tempo)
- Frequency: 3 days/week; 3 sets of 8–12 reps (toe/pspired progression as you gain strength); tempo 2–0-1-0; rest 60–90s.
- Progress cue: advance to toes as you can complete 12 reps with clean form across two sessions.
- How to push safely: keep ribs tucked, avoid sagging hips; if shoulders feel strained, revert to incline.
Week 5–6: Introducing variations safely (wide, diamond, staggered)
- Frequency: 3 days/week; 3–4 sets; 6–10 reps per variation; tempo 2–0-1-0; rest 60–90s.
- Variation strategy: rotate through wide, diamond, and staggered pushes; maintain scapular control.
- Safety: stop if form deteriorates; revert to standard push-ups if pain appears.
Week 7–8: Advanced progressions (half-push-ups to full, one-arm prep)
- Week 7: half-push-ups, 3–4 sets of 6–8.
- Week 8: full push-ups, 3–4 sets of 6–12; optional one-arm prep with elevated support, 2–3 sets per side.
- Rest and criteria: 90 seconds between sets; advance after two workouts with solid full push-ups; listen to soreness and back off if needed.
Once your form is dialled in, you can stop counting in your head — these are the best push-up counter apps for tallying reps hands-free.
Frequently asked questions
What is the proper push-up form?
Maintain a neutral spine from head to heels, with hips in line with shoulders and glutes engaged. Place hands just wider than shoulder width, wrists under shoulders, and elbows tracking about 45 degrees; lower with control and press up while exhaling, using a steady tempo (down 2–3 seconds, up 1–2). Avoid sagging hips or elbows that flare.
How do I modify push-ups for beginners?
Start with incline push-ups or knee push-ups to reduce load while you learn the pattern. Keep a straight line from head to heels, and gradually lower the surface or switch to a harder variation as strength improves. Use a controlled tempo and paused reps to build control.
How can I progress from knee push-ups to standard push-ups?
Progress by moving from knee push-ups to incline push-ups (hands on a bench) to reduce load, then toward floor-level push-ups as you gain strength. Use tempo variations and paused reps to build control and gradually increase range of motion. Ensure your core stays braced and your hips stay in line throughout each progression.
Are push-ups good for overall fitness and core strength?
Yes. Push-ups target the chest, shoulders, and triceps, and, with a braced core and glutes, also support core stability and overall upper-body strength.
About the authors

Goran Huskić
Co-founder · Professional basketball player
Goran Huskić is a Serbian professional basketball player — a 6'11" center currently playing for Monbus Obradoiro in Spain's Primera FEB. He won the 2019–20 Basketball Champions League with San Pablo Burgos and has competed professionally across Spain, Germany, Lithuania, Serbia and the United States. He co-founded PUSHapp to bring pro-level training discipline to everyday workouts.

Nikola Janković
Co-founder · Former professional basketball player
Nikola Janković is a former professional basketball player — a 6'9" forward and the 2016–17 ABA League MVP — who played for Partizan, Union Olimpija and Mega, among others. Today he runs a pilates studio and gym focused on strength, mobility and overall wellbeing. He co-founded PUSHapp to make consistent, measurable training simple for everyone.