
Form & Technique
How to Do Explosive Pushups: Master Plyometric Power
Learn how to do explosive pushups with step-by-step technique, progressions, and safety tips to boost chest power and shoulder stability.


Technique, Mechanics, and Mobility: How to Do Explosive Push-Ups Safely
Step-by-step setup: stance, hand position, and bracing
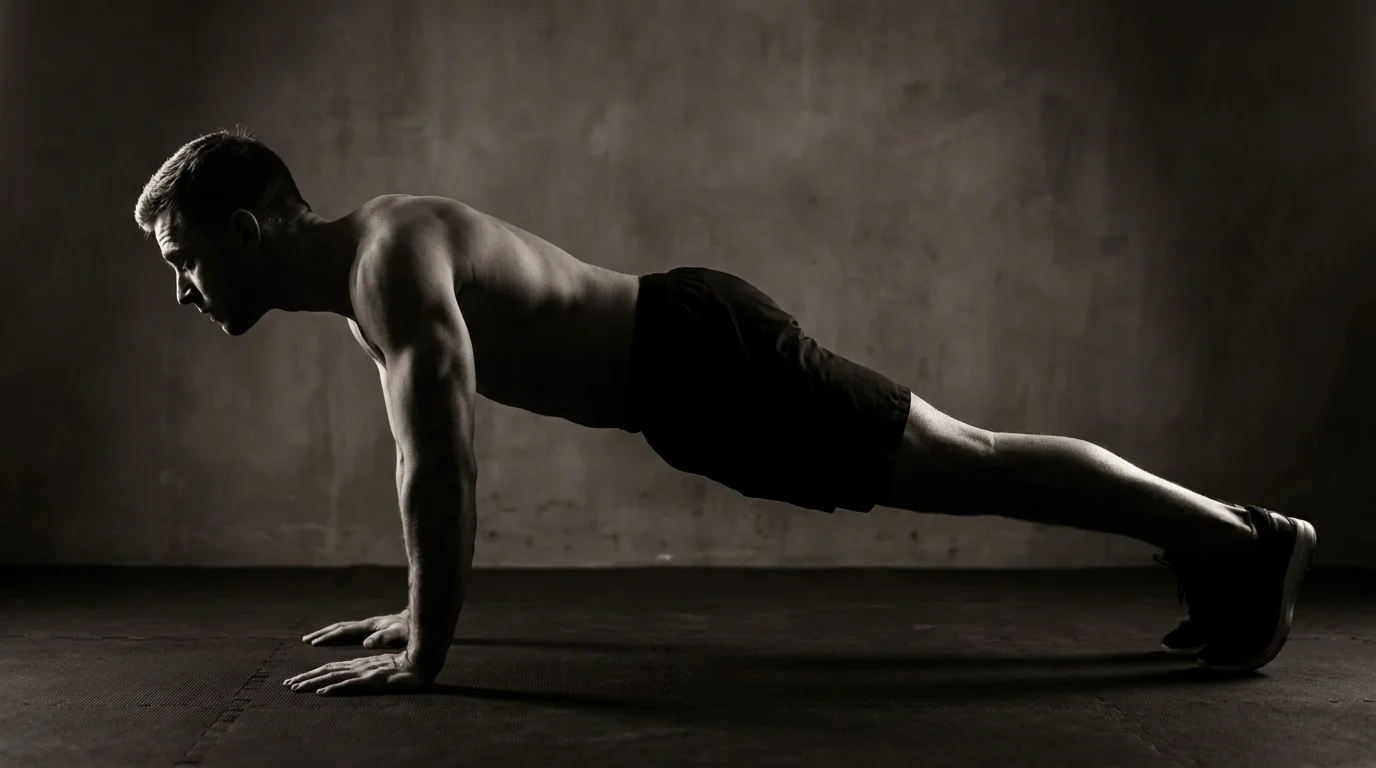
- If you're wondering how to do explosive pushups step by step, place hands slightly wider than shoulders, feet hip-width, and brace the core as if resisting a punch. Elbows stay about 45 degrees to protect the shoulders.
Explosive drive cues: hip extension, scapular retraction, and core engagement
- Drive through the hips to propel the chest up, retract the shoulder blades, and keep the torso braced.
Landing mechanics and stability cues: soft landings, knee/hip alignment, and dissipating force
- Land softly on the balls of your feet, with knees and hips in line with your toes, and dissipate force through a stable core, supporting knee stability.
Mobility and prerequisites: wrists, shoulders, thoracic spine, hips
- Wrist mobility should feel comfortable; ensure shoulder prerequisites with thoracic spine extension and hip stability before exploding.
Common technique mistakes and corrective cues
- Elbows flare, hips sag, or knees collapse? Bring elbows in, rib cage down, and reset the rep.
Baseline assessment and readiness: quick tests for RFD readiness and push-up power
- Test readiness with a controlled explosive push-off from an incline and a quick drop to the floor. This is how to perform plyometric push-up step by step when form holds.
Programming, Progressions, and Metrics: NASM-Aligned Templates for Plyometric Push-Ups
Prerequisites and prerequisites checklists: strength, mobility, and control
- Strength: can perform 12–15 solid, full ROM push-ups with good scapular control.
- Mobility: adequate shoulder and thoracic spine mobility; wrists comfortable under load.
- Control: brace core, maintain a neutral spine, and land softly without collapsing shoulders.
Progression curves: from basic to advanced plyometrics (half-plyo to full plyo)
- Half-plyo: small, quick push-offs with brief contact at the chest; no clap.
- Mid-level: stronger push-off with a brief pause at the bottom; introduce light clap or higher bank height.
- Full plyo: robust push-off and a full clap or explosive hand-to-hand transition.
NASM-aligned templates: weekly structure, deload weeks, and progression rules
- Structure: 2–3 plyo sessions weekly; progressive overload across 4–6 weeks, then a deload.
- Deload: reduce volume by 40–50% for 1 week every 4–6 weeks.
- Progression rules: add reps first, then sets, then frequency; maintain clean technique.
Programming examples: beginner, intermediate, and advanced cycles
- Beginner: 2x/week, 3–4 sets of 3–5 reps, 60–90s rest, 4 weeks.
- Intermediate: 3x/week, 4–5 sets of 4–6 reps, 60–90s rest, 5 weeks.
- Advanced: 3–4x/week, 6–7 sets of 4–8 reps, 60s rest, 4–5 weeks; include a deload.
Quantifiable progress metrics: rep max, rate of force development (RFD), vertical power tests
- Rep max: track max reps in a fixed set with proper form.
- RFD: approximate via time to full extension or a device reading; compare across cycles.
- Vertical power tests: short vertical jump or push-off height with a sensor or wall-mark method.
What to prescribe: how many plyometric push-ups you should do and pacing strategies
- Start: 3–5 explosive reps per set, 3–4 sets; rest 60–90s.
- Progress: add 1 rep per week per set or 1 extra set every 1–2 weeks.
- Pacing: explode off the floor, land quietly, and reset before each rep.
Variations, Safety, and Troubleshooting: Archer, Pike, and Beyond
Archer Push-Up vs. Pike Push-Up: intensity, loading, and scaling paths
- Archer is the more demanding unilateral loading; load shifts to one arm, creating asymmetrical demand. Scale with a shorter stance, elevated non-working arm, or partial ranges before attempting full plyos.
- Pike loads the shoulders more evenly but still challenges the upper body differently; scale by raising hips, reducing depth, or starting from a supported hand position. Move to plyometric sets only after solid control.
Safe progression frameworks: from incline/negatives to full plyos
- Begin with incline plyo push-ups, add controlled negatives, then small explosive pushes, and finally full plyometric reps. For a quick guide on how to perform plyometric push-up step by step, start with incline versions.
Injury prevention and modifications: shoulder, elbow, and lower-back considerations
- Warm up shoulders, keep elbows tucked, brace the core, and maintain a neutral spine. Avoid elbow flare and lumbar hyperextension.
Fatigue management and pacing: avoiding form collapse late in sets
- Shorten sets, rest adequately, and watch for hips or shoulders drifting. Stop if form breaks.
Baseline benchmarks and test protocols for advanced variations
- Baseline: 3 clean Pike Plyo reps and 2 clean Archer Plyo reps; use as power-focused targets.
Common fatigue-related form breakdowns with corrective cues
- Cue sequence: tighten glutes, brace core, pull shoulders down and back to prevent sagging hips and flared elbows.
Frequently asked questions
How do you properly perform a plyometric (explosive) push-up?
Set up with hands slightly wider than shoulders, feet hip-width apart, and brace your core with a neutral spine. Drive through the hips to explode upward, then land with soft knees, absorbing the impact while keeping elbows about 45 degrees to protect the shoulders.
What are common mistakes to avoid with plyometric push-ups?
Common mistakes include elbows flaring, hips sagging, or knees collapsing. Keep elbows tucked, rib cage down, and reset between reps, while maintaining a braced core and soft, controlled landings.
What prerequisites should I have before attempting plyometric push-ups?
You should be able to perform 12–15 solid full ROM push-ups with good scapular control, have adequate shoulder and thoracic spine mobility, and be able to brace your core and land softly. Wrist comfort under load is also important.
Are plyometric push-ups safe for beginners or people with shoulder injuries?
Not ideal for beginners or those with shoulder issues. Start with incline push-ups and ensure you meet prerequisites and can maintain control before progressing; consult a clinician if you have an injury.
About the authors

Goran Huskić
Co-founder · Professional basketball player
Goran Huskić is a Serbian professional basketball player — a 6'11" center currently playing for Monbus Obradoiro in Spain's Primera FEB. He won the 2019–20 Basketball Champions League with San Pablo Burgos and has competed professionally across Spain, Germany, Lithuania, Serbia and the United States. He co-founded PUSHapp to bring pro-level training discipline to everyday workouts.

Nikola Janković
Co-founder · Former professional basketball player
Nikola Janković is a former professional basketball player — a 6'9" forward and the 2016–17 ABA League MVP — who played for Partizan, Union Olimpija and Mega, among others. Today he runs a pilates studio and gym focused on strength, mobility and overall wellbeing. He co-founded PUSHapp to make consistent, measurable training simple for everyone.