
Form & Technique
Pushup Hand Placement: Form & Variations
Learn pushup hand placement that maximizes chest, triceps, and core activation with grip options, depth tips, and safe progression.



Hand placement fundamentals: grip width, elbow angles, and wrist alignment
Grip width relative to shoulders
- Hands about shoulder width apart for a balanced push. This keeps push pressure across the chest, triceps, and front delts.
- A wider grip boosts chest emphasis but adds shoulder load. A narrower grip shifts more work to the triceps.
- For wrist neutral push-up, keep wrists aligned with forearms and press through the base of the palms.
Elbow angle and elbow flare
- Keep elbows at about 45 degrees to your torso. This protects the shoulders while preserving chest and tricep engagement.
- A large elbow flare increases shoulder strain. Tuck the elbows a bit to reduce risk and maintain core control.
Wrist and forearm neutral positioning
- Hands under the shoulders, wrists straight, forearms vertical. This forearm alignment supports stable pressing.
- Avoid letting the wrists bow outward as you descend.
Core brace and spine alignment
- Engage the core, glutes, and legs to lock in position.
- Maintain a straight line from head to heels and avoid sagging.
Beginner-to-advanced progression mapping by hand placement
- Start with incline push-ups or a closer hand position to reduce load.
- Move to a standard grip as you gain strength.
- For more challenge, try a close grip, diamond grip, or archer variations with controlled form.
Variations and activation: how different hand placements shift muscle emphasis
Different hand placements shift how the chest, triceps, shoulders, and core work during a push-up. The goal is to use hand placement push-up variations to optimize pushup hand placement for different muscle activation while keeping a safe elbow angle and solid core.
Activation patterns by grip width
- Standard/neutral: balanced chest activation with steady triceps and shoulder involvement; elbows track close to the body but not flared.
- Narrow: more triceps and inner chest; elbows stay tucked to protect the shoulders.
- Wide: greater chest and front deltoid load; triceps contribute less.
Diamond vs wide: which to choose and when
- Diamond increases triceps and inner chest demand; wrists and shoulders need good mobility.
- Wide shifts emphasis to the chest and front shoulders; use when you want more chest activation and want to train with a bigger ROM.
Incline and decline to alter emphasis
- Decline (feet elevated): load rises on upper chest and front delts.
- Incline (hands elevated): shoulders and lower chest take more of the work.
Offset and staggered hand placements for progression
- Offsetting hands challenges core and shoulder stability; good for progression once standard becomes easy.
Safety, ROM, and progression: wrist support, equipment options, and shoulder health
Wrist-friendly setups and forearm neutral positioning
- Keep wrists stacked under shoulders; forearms point roughly straight ahead. If you feel pinching, switch to wrist-neutral push-ups on parallettes.
- Elbows stay at about 60 degrees from the body; control the descent and pause at the chest.
- If needed, start on incline boards or a raised surface to reduce ROM while you build strength.
Equipment options: parallettes, bars, incline boards
- Parallettes or push-up bars lift the hands and keep wrists neutral.
- An incline board or sturdy bench eases the load on shoulders without sacrificing form.
- Choose stable, non slip surfaces and keep your core engaged.
Progression roadmap by hand placement
- Begin with incline push-ups, then move to standard floor push-ups as control improves.
- Shift hand placements gradually from narrow to standard to wide while maintaining form.
- Increase reps or tempo only after clean reps across placements.
Shoulder health cues and common faults to fix
- Keep shoulder blades down and back; avoid shrugging.
- If you feel collapse or pinch, reset and re check form.
Programming templates for beginner to advanced
- Beginner: incline push-ups, 2 sets of 8, twice weekly.
- Intermediate: standard push-ups with parallettes, 3x6-10.
- Advanced: add elevated feet or diamond variations with strict form.
Frequently asked questions
What is the proper hand placement for a push-up?
Place your hands under your shoulders with fingers spread and wrists neutral. A wider grip increases chest activation but can irritate the shoulders if the elbows flare; a closer grip shifts more work to the triceps and inner chest. If your wrists bother you, switch to a neutral grip on bars or use dumbbells so the wrists stay straight.
How wide should my hands be for a push-up?
Keep your hands about shoulder width apart for a balanced push. A wider grip boosts chest emphasis but adds shoulder load, while a narrower grip shifts more work to the triceps.
What are common mistakes to avoid in push-ups?
Elbow flare, which lets the shoulders take excess load, and wrists bowing outward during the descent are common mistakes. Keep the core braced, hips level, and a straight line from head to heels.
How can I modify push-ups if I can't perform a full push-up yet?
Start with wall or countertop push-ups to learn setup, then progress to incline push-ups on a bench or box, followed by knee push-ups before attempting the floor push-up.
About the authors

Goran Huskić
Co-founder · Professional basketball player
Goran Huskić is a Serbian professional basketball player — a 6'11" center currently playing for Monbus Obradoiro in Spain's Primera FEB. He won the 2019–20 Basketball Champions League with San Pablo Burgos and has competed professionally across Spain, Germany, Lithuania, Serbia and the United States. He co-founded PUSHapp to bring pro-level training discipline to everyday workouts.
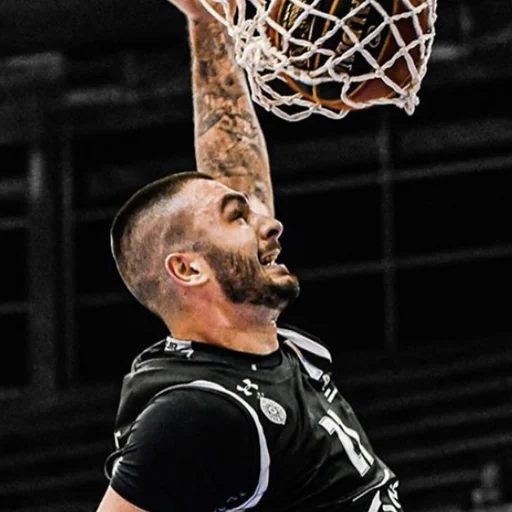
Nikola Janković
Co-founder · Former professional basketball player
Nikola Janković is a former professional basketball player — a 6'9" forward and the 2016–17 ABA League MVP — who played for Partizan, Union Olimpija and Mega, among others. Today he runs a pilates studio and gym focused on strength, mobility and overall wellbeing. He co-founded PUSHapp to make consistent, measurable training simple for everyone.