
Form & Technique
Decline Pushup Form: Master Proper Technique
Master decline pushup form with step-by-step cues, elevation guidance, and progressions to build upper chest strength safely.


Decline push-up fundamentals: setup, elevation, and prerequisites
Why elevation matters: height, arm length, and leverage
A decline push-up places your feet on an elevated surface and your hands on the floor, increasing the angle and the demand on chest, shoulders and triceps. Elevation height for decline push-ups changes leverage. Shorter arms often feel more challenge from the angle, while longer arms can alter elbow tracking. The goal is a neutral spine, tight core, and controlled descent.
Choosing the right elevation: bench, rings, or adjustable options
Equipment options include bench, rings or an adjustable bench. For beginners or shorter limbs, start with a low elevation like a bench at a moderate height. If you use rings, set the rings to a height that still keeps your body in line.
Safety, warm-up, and prerequisites before you start
Prerequisites tied to user height and arm length: you should maintain a straight line from head to heels, wrists comfortable, no shoulder pain. Warm up shoulders and core first. Ensure a stable surface, no slipping, and progress gradually.
Decline push-up technique: cues, elbow angle, and core engagement
Set-up and alignment cues
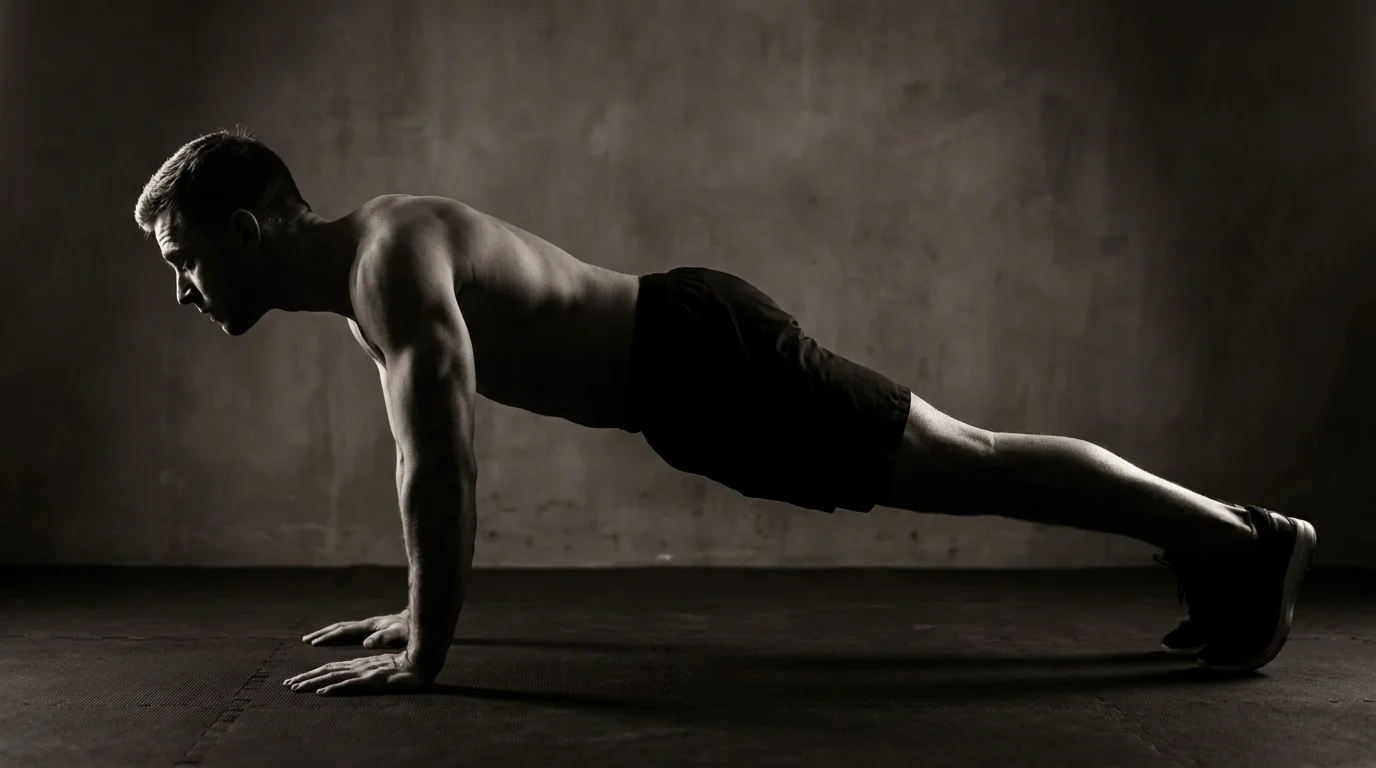
- Start with feet elevated on a bench or box, hands under shoulders, body in a straight line from heels to head.
- Squeeze glutes, brace the core, and set the scapula by pulling shoulder blades down and together.
- Keep a light nod in the neck and gaze a few feet in front.
- Keep decline pushup form by maintaining a straight line from heels to head.
Elbow angle, scapular position, and core brace
- Lower with the elbows tracking about 45 degrees from the sides; this is the elbow angle 45 degrees decline push-up.
- Maintain scapular stabilization as you descend and push, and keep core engagement throughout decline push-up.
- Push smartly to full extension while keeping a neutral spine.
Breathing, tempo, and common mistakes with fixes (before/after cues)
- Inhale on the way down, exhale as you press up; use a controlled tempo, two seconds down, two seconds up.
- Common mistakes and fixes: elbows flare out; fix with shoulder-friendly cues to keep elbows at 45 degrees. Hips sag; fix by bracing core and glutes. Neck drops; fix by keeping gaze forward. Before/after cues: set scapular position before each rep, then finish with the core braced after the rep.
Progressions, variations, and equipment: from easy to hard and rehab considerations
structured progression: tempo, reps, and sets by level
- Level 1 beginner: elevation feet on a low bench, 2 to 3 sets, 6 to 8 reps, tempo down 3 seconds, up 1 second. Elevation guidance and prerequisites matter.
- Level 2 intermediate: elevation feet on a mid-height surface, 3 sets, 8 to 10 reps, tempo down 2 seconds, up 1 second.
- Level 3 advanced: elevation feet on a high surface or rings, 4 sets, 10 to 12 reps, tempo down 1 to 2 seconds, up 1 to 2 seconds.
variations and equipment options
- bench or box variation: hands on floor, feet elevated on a bench to tune effort.
- rings or suspension trainer: hands on rings with added instability for serious control work.
- adjustable bench: tweak height to dial in elevation without changing your setup.
rehab and performance considerations: incline vs decline vs standard push-ups
Decline push-ups emphasize the upper chest emphasis decline push-up cue and front deltoids more than standard push-ups, while incline pushes lean toward the lower chest and triceps. For rehab, start with standard or incline and progress to decline only after form is solid. How many decline pushups should I do depends on your level; a common starting target is 6-8 reps, then you can build. To perform decline pushups with proper form, keep a straight line from head to heels and elbows about 45 degrees. Start with a height that enables that position and aim for 3 sets of 8 reps.
Frequently asked questions
How high should my feet be for a decline push-up to start?
Start with a low elevation, like a bench at a modest height. If you can't hold a straight line from heels to head, go to a lower height or start with an incline until you can maintain form.
What muscles are targeted by the decline push-up?
It places greater demand on the chest, shoulders and triceps, while the core works to keep the spine neutral and hips level.
Is the decline push-up harder than a regular push-up?
Yes. The elevation increases the angle and demand on the chest, shoulders and triceps, plus the core, making it harder than a standard push-up.
What are the best cues to maintain proper form during a decline push-up?
Keep your feet elevated on a bench with hands under your shoulders, and maintain a straight line from heels to head. Brace the core and glutes, pull the shoulder blades down and together, elbows tucked at about 45 degrees, and keep your gaze a few feet in front.
About the authors

Goran Huskić
Co-founder · Professional basketball player
Goran Huskić is a Serbian professional basketball player — a 6'11" center currently playing for Monbus Obradoiro in Spain's Primera FEB. He won the 2019–20 Basketball Champions League with San Pablo Burgos and has competed professionally across Spain, Germany, Lithuania, Serbia and the United States. He co-founded PUSHapp to bring pro-level training discipline to everyday workouts.

Nikola Janković
Co-founder · Former professional basketball player
Nikola Janković is a former professional basketball player — a 6'9" forward and the 2016–17 ABA League MVP — who played for Partizan, Union Olimpija and Mega, among others. Today he runs a pilates studio and gym focused on strength, mobility and overall wellbeing. He co-founded PUSHapp to make consistent, measurable training simple for everyone.