Variations & Types
spiderman pushups: technique, progressions, and tips
Master spiderman pushups with cues, progression paths, and variations (TRX and floor) to boost hip mobility, core stability, and upper body strength.
Mastering spiderman pushups: technique, cues, and NASM Phase 1 framing
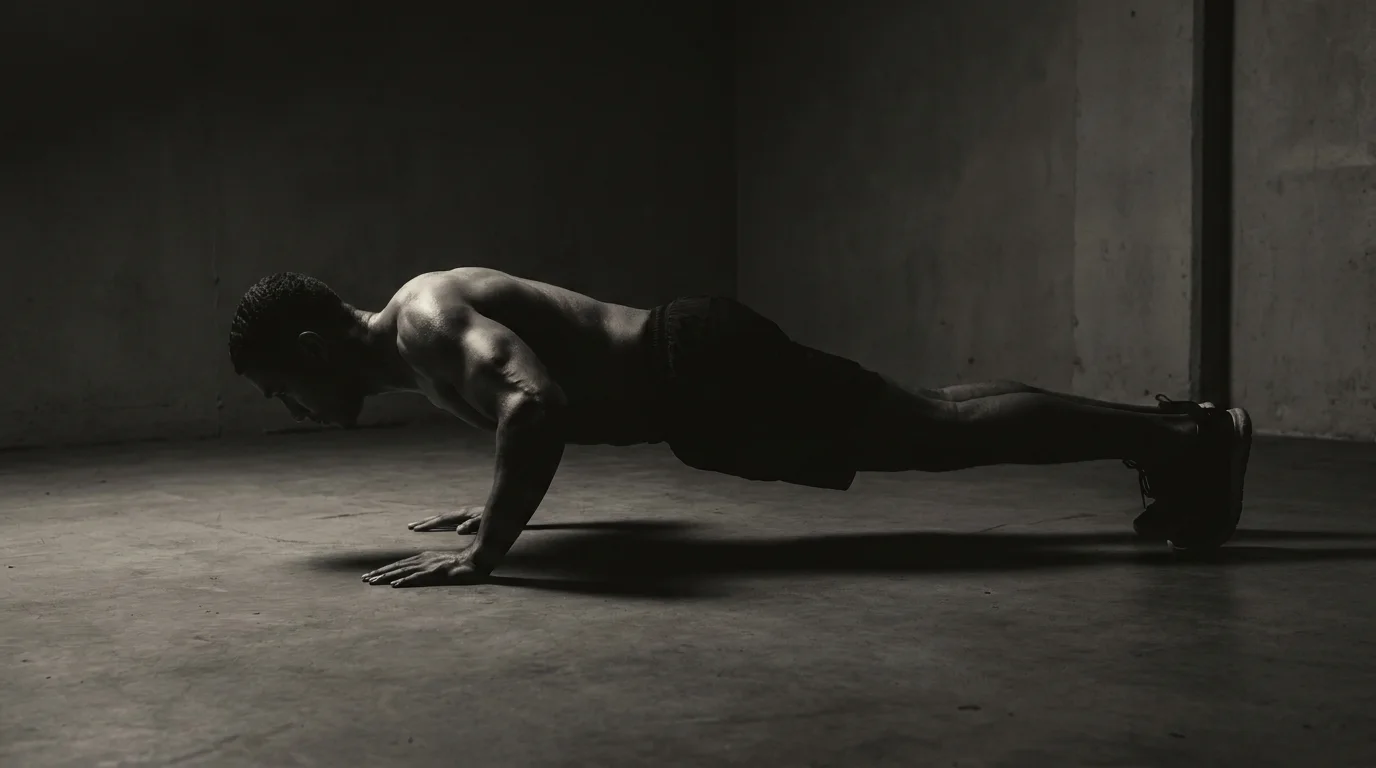
Starting position and hip engagement
Begin in a solid push-up stance: hands under shoulders, feet about hip-width apart. Brace the core, keep ribs down, and pelvis neutral so the spine stays long. This setup supports the spiderman push up form. As you descend, draw the knee toward the same-side elbow, moving the hip and knee together with control to protect the spine.
Movement cues, tempo, and knee-to-elbow action
In practice, how to do spiderman pushups means lowering slowly (2–3 seconds) while guiding the knee toward the elbow on the working side. Keep the opposite leg straight or lightly bent to maintain balance. Exhale as you push back to the start, staying focused on torso control and scapular stability for NASM Phase 1 stabilization endurance.
Common mistakes and troubleshooting
Hips sag or twist; knee misses the elbow; knees flare outward. Breathe steadily—exhale on effort, inhale to reset. If it’s too hard, regress to a hip-stability setup or a wall-supported version, then progress with the spiderman pushups progression for beginners. This path highlights spiderman push-up benefits for core and hip stability.
Progression map: from regression to TRX to full spiderman pushups
This map links floor and TRX variations with clear rep schemes, so you can sketch a steady, doable path from beginner to advanced using both formats. If you’re unsure how to do spiderman pushups, start with the regressions and TRX work to build the movement pattern.
Regression to floor push-ups
- Incline push-ups on a bench: 3x6-8, tempo 2-0-2.
- Then knee push-ups: 3x5-8, tempo 2-0-2.
- Move to full floor push-ups once you can maintain a neutral spine for 3x6-8.
TRX-based spiderman push-ups: setup and stability
- Setup: adjust TRX to a moderate angle, hands firm in the handles, core braced, hips level.
- Movement: as you descend, drive the knee toward the same-side elbow; push back with control.
- Reps: 3x6-8, tempo 2-0-2; progress to 3x8-10 as strength and control improve. If you're unsure how to do spiderman pushups, start with the TRX version to learn the knee-to-elbow path before attempting the floor version.
Sample progression templates: reps, tempo, and sequencing
- Floor-first path: Weeks 1-2 incline/knee push-ups 3x6-8; Weeks 3-4 floor push-ups 3x6-8; Weeks 5-6 full floor spiderman push-ups 3x4-6.
- TRX-first path: Weeks 1-2 TRX spiderman push-ups 3x6-8; Weeks 3-4 3x8-10; Weeks 5-6 full spiderman push-ups (floor or TRX) 3x4-6.
- Blend: alternate floor/TRX days with a steady 2-0-2 tempo to maintain form.
Benefits, mobility, and programming: integrating spiderman pushups into workouts
Benefits and biomechanics
- Spiderman pushups blend upper-body push with hip mobility work. The moving knee to the outside of the elbow elevates chest, front-deltoid, and triceps demand while forcing the core to brace against mild anti-rotation.
- The leg-side engagement strengthens glutes and promotes hip external rotation as you guide the knee outward and control descent.
Spiderman pushups vs archer push-ups and other pushing variations
- Spiderman pushups offer more hip and core involvement with a steadier torso than many unilateral pushes. Archer push-ups emphasize one-side loading and longer ROM, while spiderman pushups load both sides with a rotational challenge that stays more centered in the torso and hips.
Mobility drills, warm-ups, and programming tips
- Warm-up idea: 90/90 hip mobility, leg swings, shoulder plus thoracic rotations, 1–2 sets of light split squats.
- Programming tip: start with elevated surfaces or partial depth, then progress to floor reps; use a controlled tempo (3–0–1–0) and 1–2 sets of 3–6 reps.
Troubleshooting and cues to optimize form
- Cues: brace core, keep hips level, drive the knee toward the outside of the elbow, and exhale on the press. If hips wobble, reduce depth or revert to a elevated version until control returns.
Frequently asked questions
How do you perform a Spiderman push-up step by step?
Start in a push-up stance with hands under shoulders, feet hip-width apart, and a braced core. As you descend, drive the knee toward the same-side elbow while keeping hips level and the spine neutral; press back up with a controlled tempo and exhale on the effort.
What cues help maintain hip stability during the Spiderman push-up?
Brace the core with ribs down and pelvis neutral, and move the knee toward the elbow while keeping the hips level. Exhale on the pressing phase and avoid sagging, twisting, or letting the knees flare.
Can I do a Spiderman push-up if I have limited hip mobility, and how should I progress?
Yes—start with regressions such as incline or knee-supported variations (or wall-supported) to build pattern control. Then progress to knee-to-elbow floor reps and finally the full Spiderman push-up, using floor or TRX variations to match your hip mobility.
What are the differences between the Spiderman push-up and the TRX Spiderman push-up?
The TRX version uses suspended handles and an adjustable angle to modify the load and balance demands, while the knee-to-elbow path remains the same. The TRX setup adds instability and proprioceptive challenge you can progress through before advancing to floor variations.
About the authors
Goran Huskić
Co-founder · Professional basketball player
Goran Huskić is a Serbian professional basketball player — a 6'11" center currently playing for Monbus Obradoiro in Spain's Primera FEB. He won the 2019–20 Basketball Champions League with San Pablo Burgos and has competed professionally across Spain, Germany, Lithuania, Serbia and the United States. He co-founded PUSHapp to bring pro-level training discipline to everyday workouts.

Nikola Janković
Co-founder · Former professional basketball player
Nikola Janković is a former professional basketball player — a 6'9" forward and the 2016–17 ABA League MVP — who played for Partizan, Union Olimpija and Mega, among others. Today he runs a pilates studio and gym focused on strength, mobility and overall wellbeing. He co-founded PUSHapp to make consistent, measurable training simple for everyone.