
Variations & Types
Pushups Before and After: Transformation Plan
pushups before and after: learn safe form, track progress with photos, and follow a 4-week plan to transform chest, shoulders, and core.


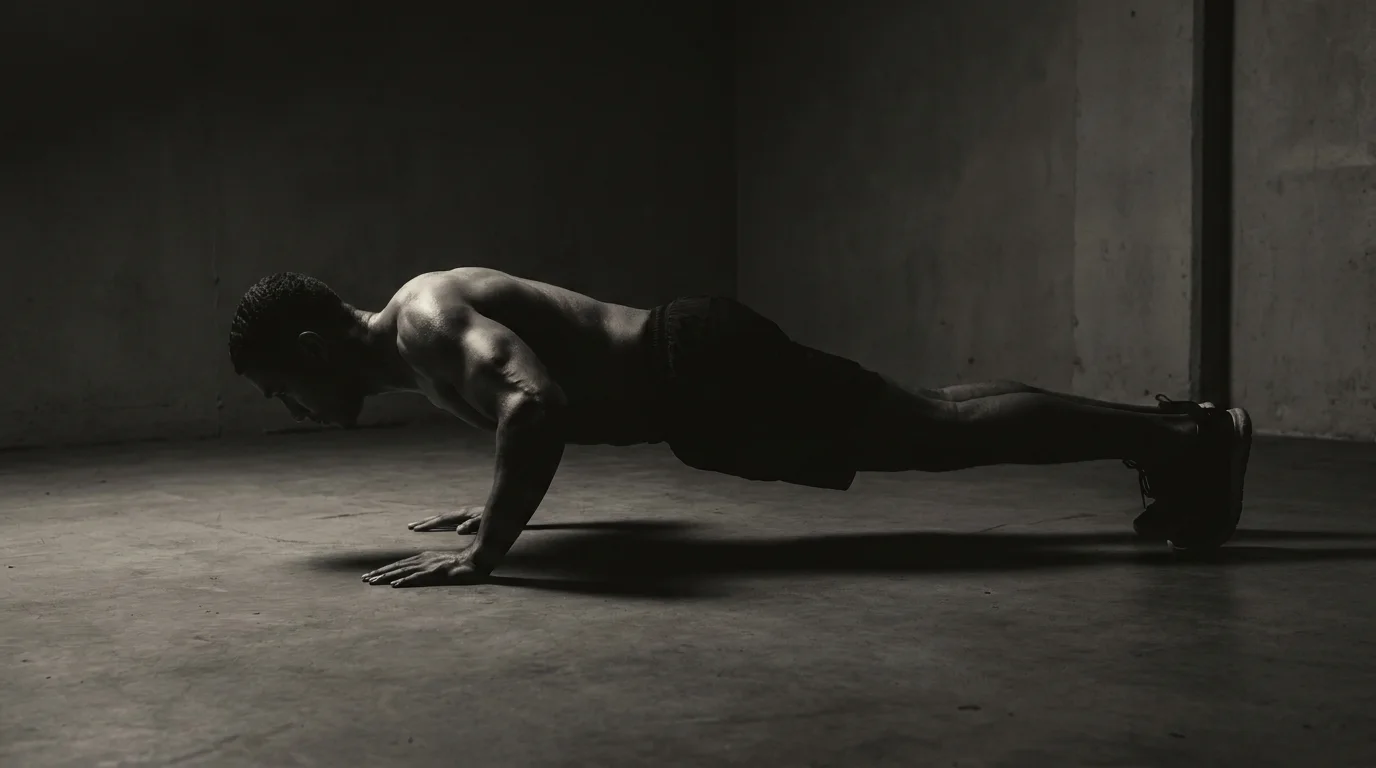
Foundation and Baseline: Define Your Pushups Before and After
A clear baseline anchors your transformation and keeps you honest about progress. Establish your starting point, set a timeline, and plan how you’ll capture changes with photos and measurements.
Baseline Assessment and Goal Setting
- Do a push-up max-reps test with solid form to establish your ceiling. Review how to do pushups correctly to maintain depth and control.
- Record reps, note depth, and any form faults.
- Set realistic goals (e.g., add reps in 4–6 weeks) and a target date.
Photography and Timeline Setup
- Take front and side photos in the same lighting, clothes, and backdrop. Date them.
- Outline an 8–12 week check-in cadence.
- If you want to know how to track pushups progress with before and after photos, keep a consistent setup for each shot and compare month to month.
Starting Point: Selecting Your Push-Up Version
- For beginners, start with beginner pushups or incline pushups to build alignment.
- Progress to standard pushups, then decline pushups as strength grows.
- Note your max reps at each stage to monitor change.
Structured Progressions: From Beginner to Advanced Push-Ups
Choosing the Right Progression Track
Start where you can maintain solid form for a full set. For strength, use lower reps with tougher variations; for endurance, aim higher reps with shorter rests. How to do pushups correctly begins with a braced core, a neutral spine, and hands under the shoulders. Elbows bend about 45 degrees; press straight up and exhale at the top. Use push-up max reps as a benchmark to gauge progress. This is a key guide for beginners to advanced.
Push-Up Variations and When to Use Them
- Incline pushups: build technique and chest engagement.
- Knee pushups: reduce load while preserving alignment.
- Decline pushups: add challenge as tolerance improves.
A 4-Week Program Sketch (Strength vs Endurance)
- Strength track (3 days/wk): W1 3x6 incline; W2 3x6-8 knee; W3 3x6-8 standard; W4 3x6-8 decline.
- Endurance track (3 days/wk): W1 3x12-15 knee; W2 3x15-20 standard; W3 3x12-20 standard; W4 3x to failure.
Benchmark and Progress Tracking
Test push-up max reps at start; re-test after 4 weeks. Log reps, rest, and form; adjust to stay near failure with clean technique.
Safety, Recovery, and Transformation Framing: Keep It Healthy and Lasting
Safety starts with how you perform push-ups correctly and avoid injuries. Keep a straight line from head to heels, brace the core, and pull the elbows in at about 45 degrees. Look slightly forward, and press without letting the hips sag. Breathe: in on the way down, out on the way up.
Form Cues and Common Mistakes
- How to perform push-ups correctly and avoid injuries: wrists under shoulders, core braced, hips neutral, tempo controlled.
- Common mistakes: sagging hips, elbows flaring, looking up, bouncing, rushing reps.
Injury Prevention and Recovery Nutrition
Warm up 5–10 minutes, choose incline push-ups for starting strength, then progress to standard and decline. Plan rest days and listen to pain signals. Nutrition and recovery for push-ups: sufficient protein, hydration, and sleep to support repair and adaptations.
Before-and-After Documentation: Timelines and Case Studies
Take consistent photos from multiple angles at set intervals, including before and after photos. Track reps and sets; a 6–8 week window works well. Case studies: a beginner using incline push-ups progressed to standard push-ups; another trainee improved strength and reps while aligning nutrition and recovery.
Frequently asked questions
What is the proper form for a standard push-up and how can I fix common mistakes?
Keep a straight line from head to heels, brace the core, wrists under the shoulders, and elbows about 45 degrees; press up with a controlled tempo and exhale at the top. Common mistakes are sagging hips, flared elbows, looking up, or rushing—scale to incline or knee push-ups until you can maintain solid form.
How should I photograph before-and-after progress to track results effectively?
Use a consistent setup—same lighting, distance, camera angle, and clothing—and date each shot. Take front and side photos at 8–12 week check-ins to visualize changes.
How long does it take to see push-up gains with a consistent program?
Gains show up over weeks; start with a baseline max-reps test and re-test after about 4 weeks. Follow with another check-in at 8–12 weeks to track larger changes.
What is the best push-up variation for beginners?
Begin with beginner or incline push-ups to build alignment and technique. Progress to standard push-ups, then decline as strength grows.
About the authors

Goran Huskić
Co-founder · Professional basketball player
Goran Huskić is a Serbian professional basketball player — a 6'11" center currently playing for Monbus Obradoiro in Spain's Primera FEB. He won the 2019–20 Basketball Champions League with San Pablo Burgos and has competed professionally across Spain, Germany, Lithuania, Serbia and the United States. He co-founded PUSHapp to bring pro-level training discipline to everyday workouts.

Nikola Janković
Co-founder · Former professional basketball player
Nikola Janković is a former professional basketball player — a 6'9" forward and the 2016–17 ABA League MVP — who played for Partizan, Union Olimpija and Mega, among others. Today he runs a pilates studio and gym focused on strength, mobility and overall wellbeing. He co-founded PUSHapp to make consistent, measurable training simple for everyone.