Form & Technique
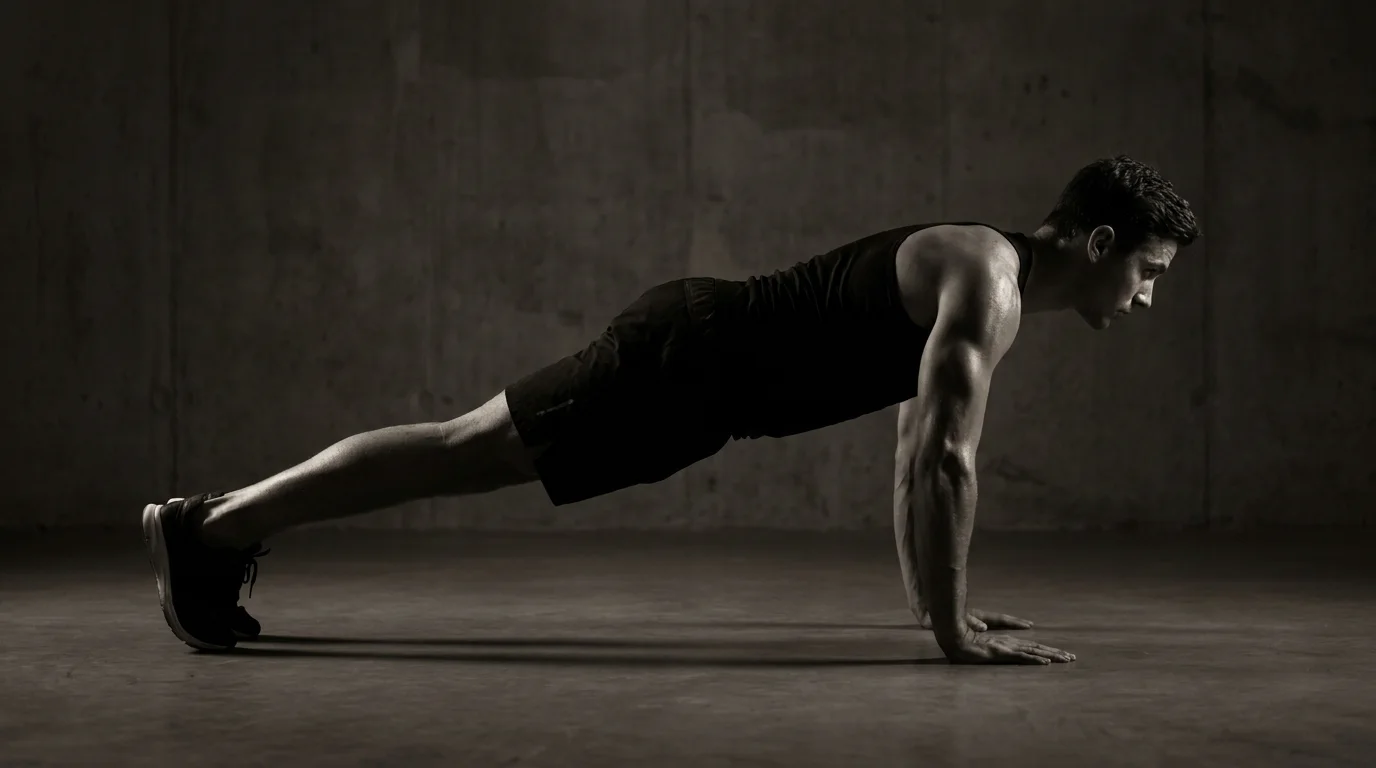
Military Pushup Form: Cues for Perfect Technique
Master the military pushup form with cues on grip, depth, elbow angle, and progression to improve strength and testing scores.
Foundations of Military Pushup Form: Setup, Scapular Control, and Mobility
Joint positioning and setup
- Hands under shoulders, about shoulder-width, fingers spread, wrists neutral, for military pushup form.
- Elbows track roughly 45 degrees from the torso as you descend.
- Keep a neutral spine; eyes forward, neck in line.
- Brace the core—tight abs and glutes, ribs closed.
Scapular stabilization and thoracic mobility prerequisites
- Squeeze shoulder blades down and back to stabilize the scapular region.
- Maintain some thoracic extension; avoid chest collapse; use light mobility work if needed.
- If mobility is limited, shallow depth until you can improve.
Elbow angle guidance (approx. 45 degrees) and spine alignment
- Aim for ~45 degrees of elbow bend relative to the torso; don’t flare or tuck.
- Keep a straight spine from head to hips; avoid arching or sagging.
Core bracing, hip posture, and head position
- Hips stay level with the spine; engage glutes to prevent sag.
- Head remains neutral; look a few inches ahead.
Breathing cadence and initial tempo cues
- Inhale down for ~2 seconds, exhale up for ~2 seconds.
- Maintain a steady tempo to support technique and scapular control.
Tempo, Depth, and Cue Sequencing for Descent, Pause, and Ascent
Descent cues and elbow tracking
- Tempo: lower 2–3 seconds, smooth and controlled.
- Scapular control: pull shoulder blades down and back; keep the chest open.
- Elbow angle push-up 45 degrees: elbows track about 45° from your torso; forearms roughly vertical.
- Descent with a straight line: brace the core and keep hips in line with shoulders.
Bottom depth targets and pause guidelines
- Bottom depth: chest within 1–2 inches of the floor while preserving the 45° elbow angle.
- Pause at bottom: 0–1 second if your form stays solid; otherwise, stay higher and reset.
Ascent cues, core bracing, and neutral spine
- Push the floor away: drive through the palms; hips stay level; brace glutes and abs.
- Finish with elbows at 45° and return to start with a controlled, steady press.
Breathing timing across phases
- Inhale on descent; exhale on ascent; steady breathing supports a strong brace.
Common mistakes and corrective fixes
- Hip sag: tighten the core; adjust foot position or reduce depth.
- Forward lean: reinforce scapular depression and keep chest forward.
- Elbow flare: enforce the 45° cue; shorten range if needed.
Progression, Assessments, and Injury-Conscious Modifications for ACFT/Combat Field Test
Weekly progression roadmap (weeks 1–4 and beyond)
- Week 1: wall or incline push-ups, focus on scapular stabilization and a straight line. 3–4 sets of 6–8 reps.
- Week 2: knee push-ups with elbows close to the ribs; solid top position before each rep. 3–4 sets of 5–8.
- Week 3: introduce controlled negatives or half ROM reps; maintain shoulder blades pulled down. 3–4 sets of 3–5.
- Week 4: full push-ups with consistent form; aim 6–10 reps per set, same tempo.
- Beyond: add reps or sets gradually, or mix in tempo changes while preserving form; align toward ACFT standards without compromising scapular control.
Regression criteria and alternatives (incline, knee push-ups, eccentrics)
- Use incline or wall push-ups when form degrades; progress to knee push-ups, then controlled eccentrics (slow lowering) before full reps.
Shoulder health considerations and injury-modified paths
- Prioritize scapular stability, neutral spine, and a pain-free press. If pain arises, regress and consult a clinician or trainer.
ACFT/Combat Field Test scoring concepts and cues for validity
- Reps count only with solid form. Keep hips level, elbows tucked, and controlled tempo; form errors reduce validity.
Self-assessment tools: wall/mirror checks and video cues
- Mirror check: hips don’t sag, ribs stay down, scapulae stabilize. Video from side: watch for elbow angle, head-neck alignment, and shoulder blade movement. Use a quick checklist before each set.
Frequently asked questions
What is the proper depth for a push-up?
Bottom depth should have the chest within 1–2 inches of the floor while preserving the 45° elbow angle. If your form falters, stay higher and reset; avoid forcing deeper reps.
What modifications are appropriate for beginners who cannot perform full push-ups?
Start with wall or incline push-ups and progress to knee push-ups, focusing on scapular stabilization and a straight line. Follow the progression: 3–4 sets of 6–8 reps in early weeks, then gradual advancement as form and strength improve.
What are the most common mistakes in push-up form and how can I fix them?
Common mistakes include hip sag, forward lean, and elbow flare. Fix them by bracing the core, maintaining scapular depression, keeping the chest forward, and keeping elbows around 45 degrees or shortening depth if needed.
What is the recommended elbow and hand position for a safer, more effective push-up (around 45 degrees)?
Hands should be under the shoulders, about shoulder-width with wrists neutral; elbows should track roughly 45 degrees from your torso. Maintain a neutral spine throughout the movement.
About the authors

Goran Huskić
Co-founder · Professional basketball player
Goran Huskić is a Serbian professional basketball player — a 6'11" center currently playing for Monbus Obradoiro in Spain's Primera FEB. He won the 2019–20 Basketball Champions League with San Pablo Burgos and has competed professionally across Spain, Germany, Lithuania, Serbia and the United States. He co-founded PUSHapp to bring pro-level training discipline to everyday workouts.

Nikola Janković
Co-founder · Former professional basketball player
Nikola Janković is a former professional basketball player — a 6'9" forward and the 2016–17 ABA League MVP — who played for Partizan, Union Olimpija and Mega, among others. Today he runs a pilates studio and gym focused on strength, mobility and overall wellbeing. He co-founded PUSHapp to make consistent, measurable training simple for everyone.