
Form & Technique
How to Do Pushups with Bad Wrists: Safe Modifications
Learn how to do pushups with bad wrists safely, with modifications, neutral grips, and wrist-strengthening tips.


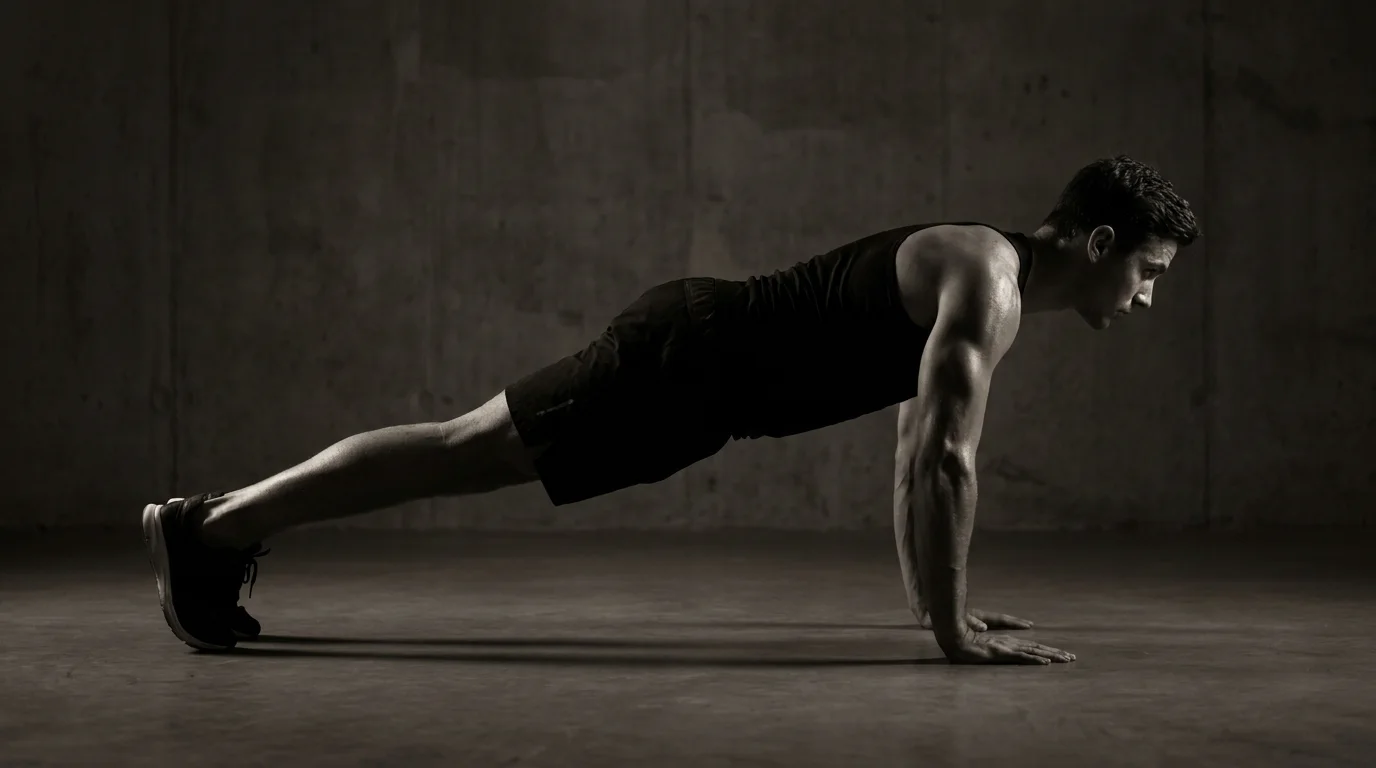
Understanding Wrist Load, Pain Conditions, and Safe Start Points
Wrist biomechanics in common pushup positions
- A standard pushup loads the wrists with extension, compressing the carpal joints and forearms.
- Neutral grip pushups keep the wrists in a straighter line, reducing bend and pressure; use push-up bars or dumbbell handles if possible.
- Elbow pushups and bench incline pushups shift some load away from the wrists toward the elbows and shoulders.
- Standing wall pushups place the least load, making them a sensible starting point for wrist-friendly training.
Baseline red flags that warrant medical evaluation
- Numbness, tingling, or weakness in the hand or fingers.
- Severe pain, swelling, or a new deformity, especially with grip or push movements.
- Pain that awakens you at night or lasts beyond 1–2 weeks despite modifications.
- Inability to move the wrist through a comfortable range.
Home assessment: pain, durability, and range of motion benchmarks
- Pain-free sets: 5–8 reps in a modified position; if pain exceeds 3/10, back off.
- ROM: comfortable flexion/extension without sharp pain.
- Durability: hold a position for 10 seconds with good form. Safe starting point: wall pushups or bench incline pushups, then neutral grip pushups on an elevated surface, then elbow pushups, and only return to full pushups if pain-free.
Practical Wrist-Safe Modifications, Equipment, and a 4–6 Week Progression
Choosing the right grip and alignment
- Try a neutral grip pushup: hands oriented so thumbs point forward and wrists stay in line with forearms.
- Use pushup bars or parallettes to keep wrists neutral; adjust stance to maintain a straight line from head to heels.
- Elbow pushups: tuck elbows ~45 degrees to reduce wrist bend; progress to neutral grip as tolerated.
- Stand-alone options: standing wall pushups or bench incline pushups to unload the wrists.
- If staying on the floor, a dumbbell chest press can spare the wrist while building chest and shoulder strength.
Equipment options that minimize load
- Push-up bars, parallettes, or a foam pad under palms.
- Adjustable bench for incline positions.
- Dumbbells for floor presses as a wrist-friendly alternative.
Week-by-week progression (example 6-week plan)
- Weeks 1–2: 3x6–8 at incline or wall; rest 60–90s.
- Weeks 3–4: 4x8–10 with neutral grip.
- Weeks 5–6: 5x10–12 on a floor or higher incline.
- Video-guided cues: maintain a stacked line, ribs set, and elbows tracking midline.
- Common mistakes: wrists bowing, hips sagging, elbows winging out.
- Ergonomic setup: place hands at chest height, use a mat, and adjust surface height to reduce load.
Return-to-Standard Pushups, Red Flags, and Injury Prevention
Use this checkpoint after your wrist-friendly progression. Return to standard pushups only when you’re pain-free during and after sets, can hold wrists in a neutral position, and can tolerate progressive loading without regressive pain.
Red flags and when to see a clinician
- Pain that persists 48 hours after a session or worsens with pushups
- Numbness, tingling, or weakness in the hand or fingers
- Swelling, warmth, or deformity around the wrist
- Inability to bear weight or stabilize the wrist during activity
If pushups hurt your wrists beyond brief discomfort, stop and seek guidance. What to do if pushups hurt your wrists: switch to a gentler setup, use a brace, and reassess with a clinician if pain remains.
Guided return-to-full pushups timeline
- Week 1–2: pain-free incline or elevated surface work
- Week 3–4: flat pushups on a padded, stable surface
- Week 5–6: attempt standard pushups with strict form; back off if any pain returns
Brace, position, and ergonomic setup guidance
- Wear a wrist brace as advised; choose soft or rigid as needed
- Keep wrists neutral, fingers spread, and hands under shoulders
- Use push-up handles, parallettes, or a firm pad to reduce wrist bend; ensure a stable, non-slip setup
- Ongoing wrist rehab: 5–10 minutes daily of gentle mobility and grip work
Alternative exercises to maintain chest/shoulder work
- Incline pushups, wall pushups, or resistance-band chest presses
- Standing or seated cable/chest presses to maintain loading without wrist strain
Frequently asked questions
How can I do pushups if my wrists hurt?
Start with safer positions that shorten the lever and keep the wrists neutral—try incline or wall pushups, use dumbbell handles or a fists position, and perform on an elevated surface to reduce load. Begin with short, controlled sets and progress gradually, backing off if pain increases.
What are wrist-friendly pushup variations I can use?
Use a neutral grip to keep wrists in line with forearms; pushup bars or parallettes improve wrist alignment; elbow pushups at about a 45-degree angle can unload the wrists before progressing to a neutral grip. You can also use bench incline or standing wall variants, or a floor exercise like a dumbbell chest press to spare the wrist.
What pushup alternatives work if I have wrist pain?
Stand-alone options like standing wall pushups or bench incline pushups unload the wrists while still building chest and shoulder strength. Floor presses with dumbbells or a dumbbell chest press can provide a wrist-friendly alternative to pushups.
When should I see a doctor for wrist pain related to exercise?
Seek medical evaluation if you have numbness/tingling or weakness, severe pain or swelling, a new deformity, pain that wakes you at night, or pain lasting beyond 1–2 weeks despite modifications.
About the authors

Goran Huskić
Co-founder · Professional basketball player
Goran Huskić is a Serbian professional basketball player — a 6'11" center currently playing for Monbus Obradoiro in Spain's Primera FEB. He won the 2019–20 Basketball Champions League with San Pablo Burgos and has competed professionally across Spain, Germany, Lithuania, Serbia and the United States. He co-founded PUSHapp to bring pro-level training discipline to everyday workouts.
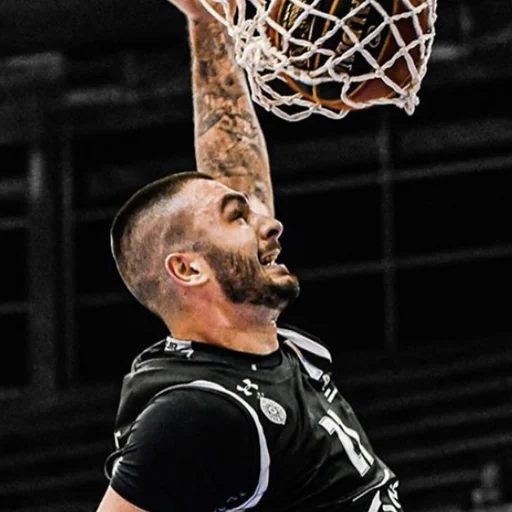
Nikola Janković
Co-founder · Former professional basketball player
Nikola Janković is a former professional basketball player — a 6'9" forward and the 2016–17 ABA League MVP — who played for Partizan, Union Olimpija and Mega, among others. Today he runs a pilates studio and gym focused on strength, mobility and overall wellbeing. He co-founded PUSHapp to make consistent, measurable training simple for everyone.