
Form & Technique
Push Up Progression for Beginners: Safe Stepwise Variations
Discover a push up progression for beginners with knee and incline options, proper form cues, and a plan to progress safely.

Foundations: SAID Principles, Phase 1 Endurance, and Safe Setup
Progress in push-ups isn't random; progression follows the SAID principle—specific adaptations occur when the demands match the goal. Increase load, range of motion, or tempo only after you can hold form.
What the SAID Principle Means for Your Push-Up Journey
- Train in the pattern you want to perform and advance load or ROM as technique stabilizes.
- Break big gains into small, repeatable steps to protect joints and align scapular stabilization with core engagement.
- Avoid rushing to full push-ups if hips or shoulders drift out of alignment.
Phase 1 Endurance: Goals, Cues, and Safe Loading
- Goals: 3 sets of 6–10 controlled reps with a neutral spine and steady breathing.
- Cues: brace the core, engage glutes, set the shoulder blades, keep the neck long.
- Safe loading: start with knee or incline variations; use a moderate tempo and 60–90 seconds rest.
Starting Variations: Knee Push-Up vs Incline Push-Up
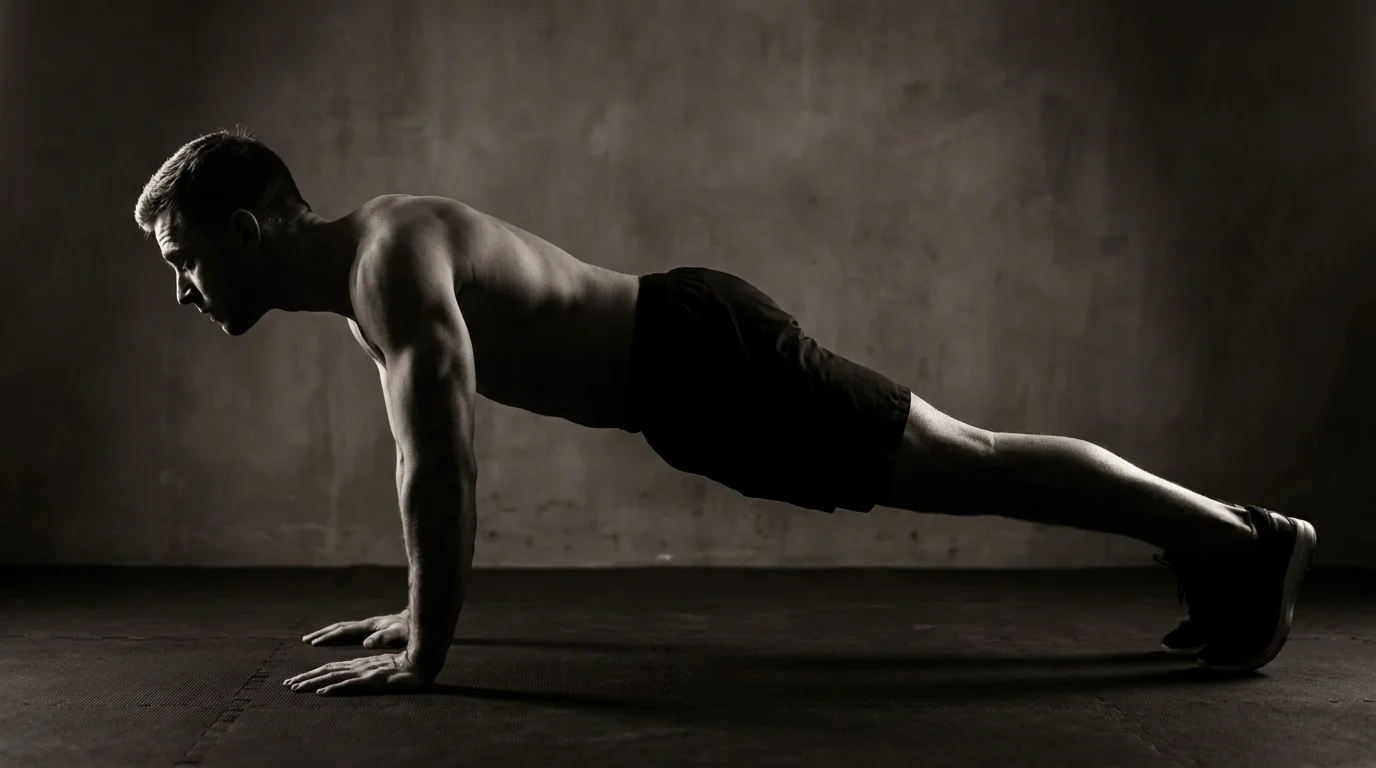
- Knee push-up: hands at shoulder width, knees under hips, straight line from head to knees.
- Incline push-up: hands on a bench or box; higher surface = easier load; maintain scapular control.
From Knee to Full: Step-by-Step Progression
- Knee push-ups until control is solid.
- Move to a medium incline; build to 3x8–10.
- Lower the incline gradually while preserving form.
- Transition to full push-ups at 3x8–12 with proper scapular and core control.
Progressions and Variations: Technique, Cues, and Common Faults
This push-up progression for beginners emphasizes clean form, scapular stabilization, and steady core engagement. Use the cues and fault checks below to stay safe as you advance.
Incline Push-Ups: How to Do Them Correctly
- Setup: hands on a stable surface (bench, step), feet on the floor, body in a straight line, core braced.
- Cues: elbows about 45 degrees; shoulders move down and back; keep the neck long. Think “squeeze the shoulder blades.”
- Faults: hips sag, head drops, wrists collapse outward.
- Quick path: if needed, start with knee push-ups on the floor or raise the incline surface to reduce load, then progress.
Wide vs Diamond: When to Use Each
- Wide: hands out wider than shoulders to emphasize chest, with elbows tracking slightly outward.
- Diamond: hands form a diamond under the chest to bias triceps.
- Faults: flaring elbows, wrist strain, losing a straight line.
Pike Push-Ups and Progressive Weight Shifts
- Setup: hips high, head in line with spine; feet hip-width apart.
- Cues: shift weight forward gradually to load the shoulders while keeping the core engaged.
- Faults: hips collapse, spine rounds, knees lock.
One-Armed Progression: Safe Steps Toward the Target
- Start with a supported, elevated hand; keep hips square and ribs braced.
- Cue: control the tempo; switch sides when ready.
- Faults: twisting torso, losing core engagement, uneven shoulders.
Equipment-Based Variations: TRX and Stability Ball Push-Ups
- TRX: lean into the handles to adjust difficulty; scapular stability and core brace remain essential.
- Stability ball: hands on the ball or feet on the ball; maintain a straight line and steady breathing.
- Faults: excessive sagging or bowing; ribs flare; loss of balance. form checks and steady core engagement help.
8-Week Structured Plan: Endurance to Strength & Stabilization (Equipment Included)
Phase 1 (Weeks 1–3): Endurance, Technique, and Core-Stabilization
- 3 days/week. Start with incline or knee push-ups, 3 x 8–12. Add 1–2 reps per week and drift toward a full push-up as control allows.
- Use TRX push-ups or stability ball push-ups to reduce load when needed; keep a tight core and elbows around 45 degrees.
- Include 2 core sets (plank 20–30s, dead bug) between push-up sets.
Phase 2 (Weeks 4–6): Strength, Stabilization, and Controlled Progression
- 3–4 days/week. Aim for 4 x 6–10 with a 1–2s pause at the bottom. Increase load via TRX or stability ball variations; rotate incline/decline as needed.
Phase 3 (Weeks 7–8): Advanced Variations and Transition
- 3–4 days/week. Add diamond push-ups, push-ups with a leg lift, and return to full push-up on stable ground as feasible.
Weekly Layout, Recovery, and Equipment Options
- Rest days between sessions; emphasize mobility, sleep, and hydration. Equipment options: TRX or stability ball to tailor load.
Frequently asked questions
What is the easiest push-up progression for beginners?
Start with knee push-ups or a high incline (hands on a bench or box). As you control the pattern, lower the incline to a medium surface and then progress to full push-ups.
How do you perform a push-up with proper form for beginners?
Maintain a straight line from head to hips, brace your core, and keep the ribs tucked and hips steady. Keep elbows about 45 degrees, shoulders down and back, and exhale on the push while keeping the shoulder blades sliding toward the spine.
How can I progress from knee push-ups to full push-ups safely?
Progress gradually: start with knee push-ups until control is solid, move to a medium incline and build to 3x8–10, then lower the incline while preserving form, and finally reach full push-ups at 3x8–12 with proper scapular and core control.
How many push-ups should a beginner aim for per session or per day?
Phase 1 targets are 3 sets of 6–10 controlled reps with a neutral spine and steady breathing, with 60–90 seconds rest between sets.
About the authors
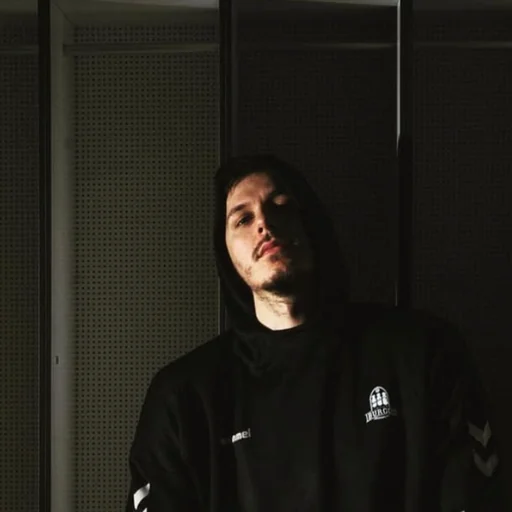
Goran Huskić
Co-founder · Professional basketball player
Goran Huskić is a Serbian professional basketball player — a 6'11" center currently playing for Monbus Obradoiro in Spain's Primera FEB. He won the 2019–20 Basketball Champions League with San Pablo Burgos and has competed professionally across Spain, Germany, Lithuania, Serbia and the United States. He co-founded PUSHapp to bring pro-level training discipline to everyday workouts.
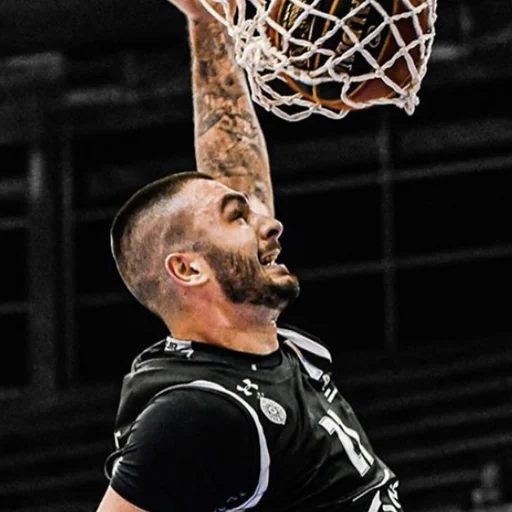
Nikola Janković
Co-founder · Former professional basketball player
Nikola Janković is a former professional basketball player — a 6'9" forward and the 2016–17 ABA League MVP — who played for Partizan, Union Olimpija and Mega, among others. Today he runs a pilates studio and gym focused on strength, mobility and overall wellbeing. He co-founded PUSHapp to make consistent, measurable training simple for everyone.