Variations & Types
Decline Pushups: Technique, Variations & Progressions
Learn how to perform decline pushups with proper form, muscles worked, common mistakes, and variations to progress.
Technique, Elevation, and Safety
Setup and positioning
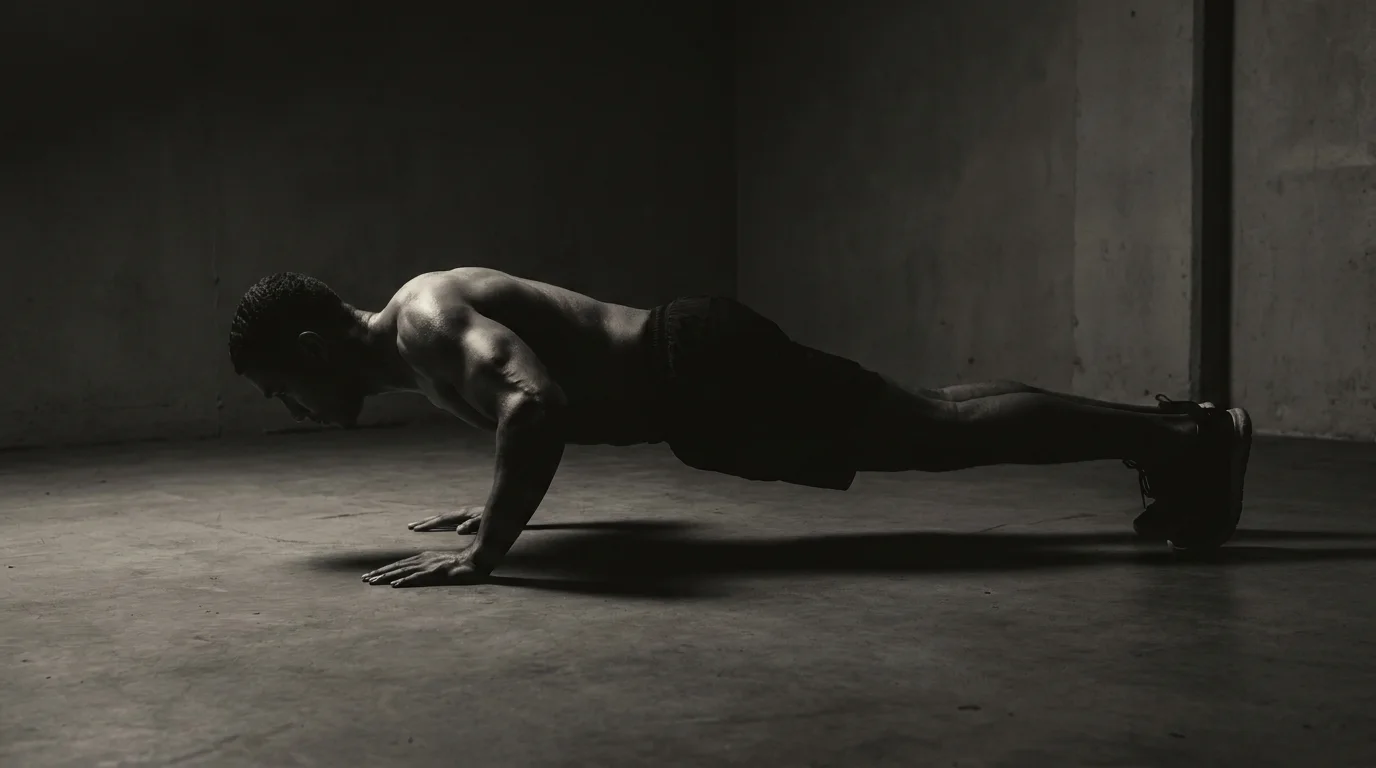
- Foot elevated push-up position: feet rest on a bench, box, or step, with hands under the shoulders. Keep the torso in a straight line from head to heels and look slightly ahead. This is how to perform decline push-up correctly: maintain neutral hips, engage the glutes, and avoid sagging or piking.
Scapular bracing and core engagement cues
- Scapular bracing cues: draw shoulder blades down and together before lowering.
- Core engagement cues: brace as if you’re about to take a punch—tighten abs and glutes to keep the spine steady throughout the rep.
Elbow angle
- Target an elbow angle around 45–60 degrees relative to the torso, with elbows tracking close to the body. Avoid flaring the elbows excessively or letting them flare past 90 degrees.
Range of motion and tempo
- Lower with control until the chest is near the floor (or until your upper arms are roughly parallel to the floor), then press up. Use a tempo of about 2 seconds down, 1–2 seconds up; pause briefly at the bottom if form holds.
Elevation guidelines and prerequisites
- Elevation guidelines: start with a lower foot height (about 6–8 inches) and only raise the feet higher as you maintain form; progress gradually to intermediate elevations (12–18 inches) as you gain strength.
- Prerequisites for safe decline pushups: can hold a solid plank for 20–30 seconds, no shoulder pain, and comfortable with standard push-ups before progressing.
Common mistakes to avoid
- Sagging hips, shrugged shoulders, or a dropped head; excessive elbow flare; rushing reps; and bouncing at the bottom.
Variations, Progressions, and Goal Mapping
Beginner to advanced progression ladder
- Start with Foot elevated push-up on a low surface (about 6 inches) to begin decline push-up variations with manageable load; focus on form.
- Step up to a medium elevation (8–12 inches) as your chest and triceps adapt; keep a solid brace and controlled descent.
- Advance to a high elevation (12–16+ inches) to maximize upper chest demand; add pauses at the bottom to heighten tension.
- Integrate tempo-focused progression: tempo 3-0-2-0 or 2-0-2-0, and build reps across 3–4 sets.
Tempo and rep schemes for progressions
- Use slower descent and a brief pause at the bottom to boost time under tension; this is safer for beginners and effective for hypertrophy.
- Example rep scheme: 6–10 reps per set at a 3-0-2-0 tempo; progress to 8–12 reps with the same tempo over weeks.
- Prioritize quality over quantity; pause or reduce rep range if form dips.
Elevation levels and associated goals
- 6 inches: technique, scapular control, light upper chest engagement.
- 8–12 inches: balanced upper chest emphasis with solid core stability.
- 16 inches: advanced upper chest loading; reserve for established strength.
Mapping variations to specific lifting goals and upper chest emphasis
- Decline push-up variations with higher feet target the upper chest; ideal for a chest peak.
- For overall chest development, mix in standard or incline push-ups as a complementary base.
What bench height means for your goal
- Higher bench height increases difficulty and upper chest recruitment; use bench height mapping to align with your goal and avoid shoulder strain.
- Decline vs incline push-ups: which is harder? Decline generally places more load on the upper chest and shoulders.
- Always ensure how to perform decline push-ups correctly with proper form and range of motion.
Practical Programming, Workouts and Troubleshooting
Sample 4-week progression plan
- Week 1: 3 sets x 6–8 reps; elevation: feet on a low step (6–8 in); rest 60–90s; tempo 2-0-1-0.
- Week 2: 3–4 sets x 7–9 reps; elevation: 8–12 in; rest 60–90s; tempo 2-0-1-0.
- Week 3: 4 sets x 8–10 reps; elevation: 12–16 in; rest 60–90s; tempo 2-0-1-0.
- Week 4: 4 sets x 9–12 reps or to technical failure; elevation: 12–16 in; rest 60–90s; if form slips, revert to Week 3.
Workout flow with rest intervals and tempo cues
- 4 rounds of 8–10 reps of decline pushups; rest 60–90s between rounds.
- Tempo: 2 seconds down, 0 pause, 1 second up (2-0-1-0); maintain neutral spine and core brace.
- Elevation should progress only when technique is solid; compare decline pushups vs incline pushups which is harder by increasing difficulty via elevation.
Troubleshooting common faults and fixes
- Hips sagging or knees bending: brace the core; tighten glutes; maintain a straight line.
- Elbows flare outward: tuck elbows to about 45 degrees and keep wrists under shoulders.
- Shallow range or inconsistent tempo: slow the descent, pause briefly at the bottom, then press up firmly.
- Breath-holding: exhale as you push up, inhale on the way down.
Adjusting elevation safely across the cycle
- Elevation choice: decline pushups are generally harder than incline pushups for most people; start with a modest elevation to build technique, then ascend gradually.
- Safe progression: increase height by about 2–4 inches per week if form remains clean; use a stable platform, non-slip mat, and a fixed surface.
- Monitoring: if balance or control deteriorates, revert to the previous week’s height and reassess.
Frequently asked questions
How much elevation is appropriate for decline push-ups?
Start with a lower foot height of about 6–8 inches and only raise the feet higher as you maintain form; progress to intermediate elevations around 12–18 inches as you gain strength.
What training prerequisites are needed for decline push-ups?
You should be able to hold a solid plank for 20–30 seconds, have no shoulder pain, and be comfortable with standard push-ups before progressing to decline variations.
How many decline push-ups should I perform?
Use about 3–4 sets of 6–12 reps, 2–3 sessions per week, in 2–3 week blocks; adjust reps and sets as you build strength.
What are some progression options to make the decline push-up easier or harder?
Progress by adjusting elevation (lower to start, raise as you improve), adding tempo and pauses at the bottom, and varying hand width; regress to knee or incline push-ups if needed, and advance to higher elevations and tempo-focused sets (e.g., 3–0–2–0 or 2–0–2–0) as you get stronger.
About the authors

Goran Huskić
Co-founder · Professional basketball player
Goran Huskić is a Serbian professional basketball player — a 6'11" center currently playing for Monbus Obradoiro in Spain's Primera FEB. He won the 2019–20 Basketball Champions League with San Pablo Burgos and has competed professionally across Spain, Germany, Lithuania, Serbia and the United States. He co-founded PUSHapp to bring pro-level training discipline to everyday workouts.

Nikola Janković
Co-founder · Former professional basketball player
Nikola Janković is a former professional basketball player — a 6'9" forward and the 2016–17 ABA League MVP — who played for Partizan, Union Olimpija and Mega, among others. Today he runs a pilates studio and gym focused on strength, mobility and overall wellbeing. He co-founded PUSHapp to make consistent, measurable training simple for everyone.