
Variations & Types
Pushup to Shoulder Tap Technique: Form & Variations
Master the pushup to shoulder tap technique with clear form cues, core stability tips, and deficit options to expand your push-up repertoire.


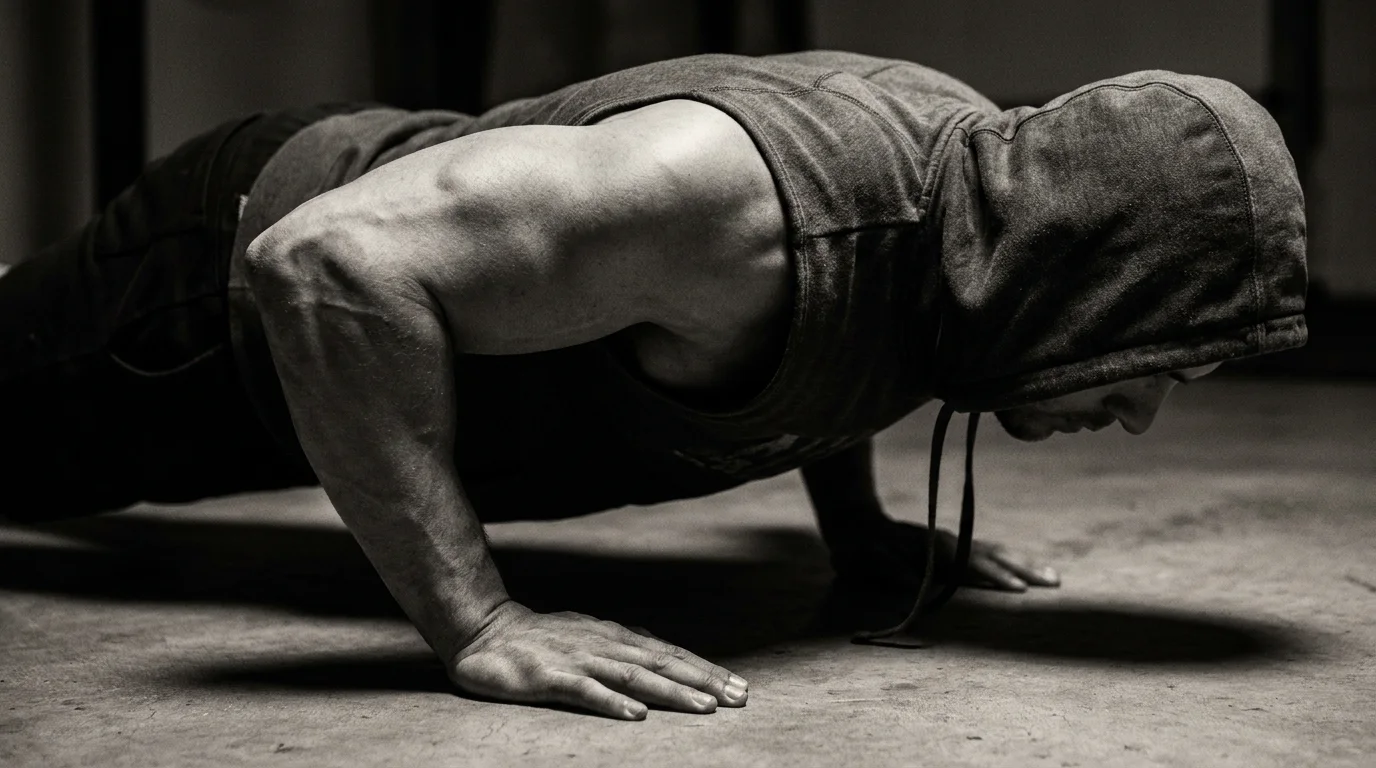
foundation: pushup-to-shoulder tap form, cues, and common faults
Set up in a solid push-up position. Hands under shoulders, feet hip width. Brace core stability and squeeze the glutes to keep the back flat and the hips level. Avoid sway. This foundation supports the pushup to shoulder tap technique and the push-up with shoulder tap; think of it as a shoulder-stabilizing pushup.
starting position: hand, feet, and shoulder alignment
- hands under shoulders, wrists aligned, fingers spread
- feet hip width, toes grounded
- shoulders over wrists; shoulder blades down and back
cues for a tight core and level hips
- brace core with navel toward spine
- squeeze glutes, keep hips level
- gaze forward to keep neck neutral
common faults and how to fix them
- hips sagging or piking: reset core and glutes
- hips rotate: keep hips square by bracing
- feet too wide or too close: adjust stance
- head nods: look ahead, not down
breathing, tempo, and repetition guidelines
- inhale on descent, exhale on push and tap
- tempo: controlled two count down, two count up
- reps: start with 3 to 6 per side; progress to 6 to 8
- keep hips level and back flat through every rep
Deficit push-ups with shoulder taps: tempo, timing, and structured progression
A deficit push-up to shoulder tap adds range of motion and demands bracing from your core and chest. Use it only when you can maintain a solid spine and stable hips throughout the movement.
Why and when to use a deficit
- It increases challenge for shoulder stability and upper body control.
- Use it after you master a standard push-up and a basic shoulder tap without wobble.
Deficit setup: equipment and safety
- Use two sturdy plates or a dedicated push-up platform on a non slip surface.
- Center your hands on the deficit, keep wrists neutral, and brace the core before each rep.
- Check for wobble and keep the taps controlled to protect the spine.
Step-by-Step: deficit push-up to shoulder tap
- Place hands on the deficit, feet hip width apart.
- Tighten the core and glutes.
- Lower with control until the chest slightly below the deficit.
- Press up to the starting position.
- Tap one shoulder with the opposite hand, then alternate each rep.
Tempo and timing for deficit version
- Eccentric timing drives slow descent, concentric timing drives a deliberate push.
- Week 1 to 2: 3 seconds down, 0 second pause, 1 second up, tap on each rep.
- Week 3 to 4: add a 0.5 to 1 second bottom pause and maintain control through the taps to progression of deficit pushup to shoulder tap steps.
Unilateral variants, stability drills, and injury-ready scaling
Unilateral shoulder tap variations and stability drills
Begin in a standard push-up position with hips level. From here, lift one hand to touch the opposite shoulder, keeping the torso square and the ribs down. This is a unilateral shoulder tap push-up that challenges anti-rotation and shoulder stability. Add a static hold at the top for a breath, then resume tapping. Variations include performing taps from an incline first, then from the knees, and finally from a full push-up. Slow tempo on each tap adds control and reinforces balance.
Stability drills complement the taps. Try a top-position hold before each tap and a longer pause after contact. A light resistance band around the forearm cues anti‑rotation without pulling on the shoulder.
Progression, scaling, and beginner-friendly alternatives
Progress along this track: incline push-up with taps, knee push-up with taps, then full push-up with taps. Scaling options include hands on a box or bench to reduce load, or performing a wall version for beginners. You can also do a single tap per set to build confidence before alternating.
Beginner-friendly alternatives include wall tap push-ups or placing the hands on a raised surface while keeping the hips steady.
Injury considerations, safety, and common pitfalls
Work within pain-free ranges and stop if you feel sharp shoulder pain. Keep the neck neutral and eyes toward the floor. If you have shoulder issues, reduce range or skip the tap until loading is tolerable.
Common pitfalls are hips rotating, hips sagging, or rushing taps. Focus on deliberate, controlled movements and full extension after each tap.
Frequently asked questions
How do you perform a push-up to shoulder tap correctly?
Start in a solid push-up position with hands under shoulders, feet hip width, brace the core and squeeze the glutes to keep the hips level. Lower with a controlled two count, pause briefly at the bottom, press up, then tap the opposite shoulder and return to the top before repeating.
What is a deficit push-up to shoulder tap and when should you use it?
It uses a raised surface for the hands or feet to increase range and challenge core and shoulder stability. Use it after you have mastered a standard push-up and a basic shoulder tap without wobble.
What are common mistakes when doing shoulder-tapping pushups?
Hips sagging or piking, hips rotating, feet too wide or too close, and head nodding. Fix by resetting the core and glutes, bracing to keep hips square, adjusting stance, and looking forward.
Do you need equipment for deficit shoulder tap pushups?
Yes, two sturdy plates or a dedicated push-up platform on a non slip surface. Center your hands on the deficit, keep wrists neutral, and brace the core before each rep to prevent wobble.
About the authors

Goran Huskić
Co-founder · Professional basketball player
Goran Huskić is a Serbian professional basketball player — a 6'11" center currently playing for Monbus Obradoiro in Spain's Primera FEB. He won the 2019–20 Basketball Champions League with San Pablo Burgos and has competed professionally across Spain, Germany, Lithuania, Serbia and the United States. He co-founded PUSHapp to bring pro-level training discipline to everyday workouts.

Nikola Janković
Co-founder · Former professional basketball player
Nikola Janković is a former professional basketball player — a 6'9" forward and the 2016–17 ABA League MVP — who played for Partizan, Union Olimpija and Mega, among others. Today he runs a pilates studio and gym focused on strength, mobility and overall wellbeing. He co-founded PUSHapp to make consistent, measurable training simple for everyone.