Variations & Types
Archer Pushups: Technique, Variations & Progression
Master archer pushups with detailed technique, benefits, progression steps, and variations to build unilateral chest and shoulder strength.
Archer Pushups Fundamentals: Technique, Form & Safe Loading
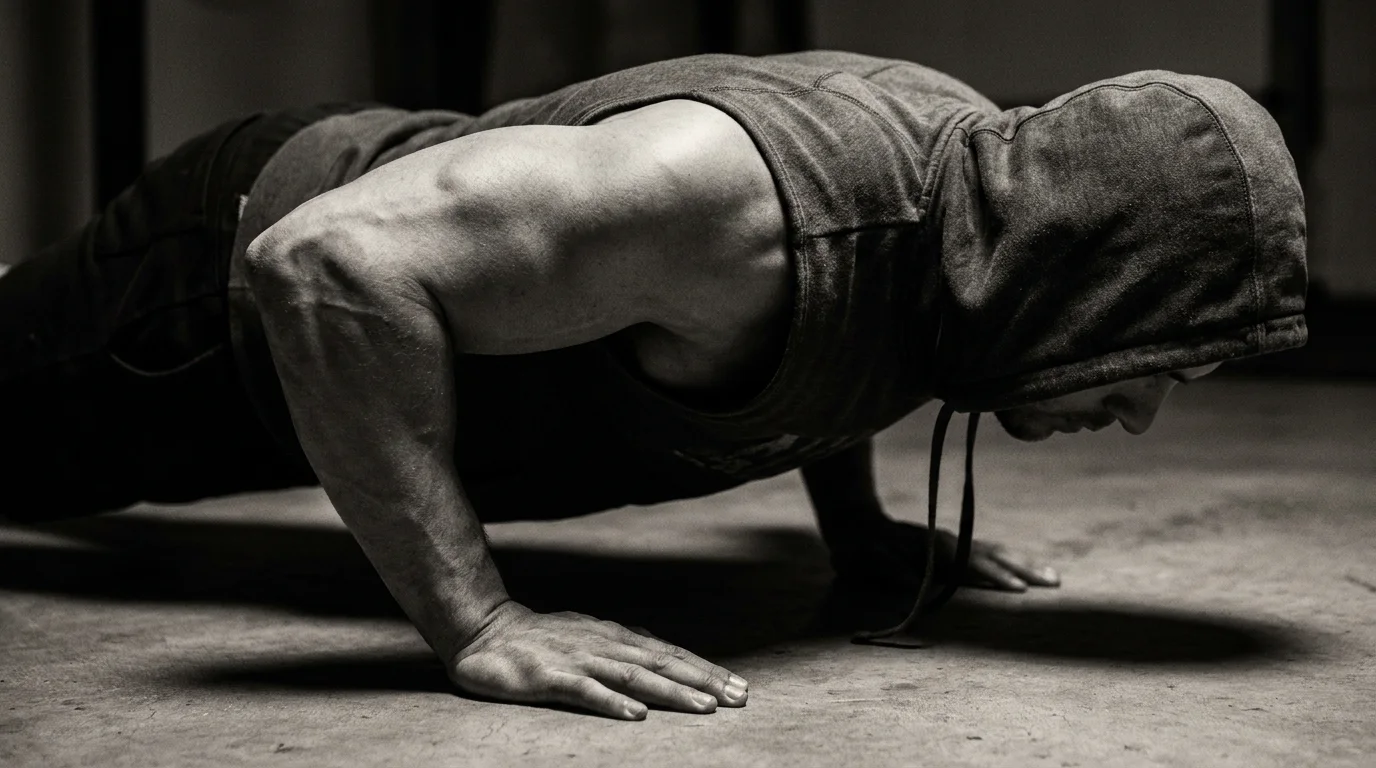
Setup & stance
- Place hands wider than shoulders; the inner arm bears more weight while the outer arm stays extended for stabilization.
- Keep a tall spine, ribs tucked, and hips square to the floor. Brace the core and glutes to prevent hip rotation.
- Feet hip-width apart with even weight distribution. Shoulders stay stacked over the wrists.
Movement cues & tempo
- Lower for 3–4 seconds, letting the bent-arm drive the movement while the extended arm supports but remains controlled.
- Pause briefly at the bottom, then press back up, driving through the bent arm. Maintain level hips and steady ribcage to preserve archer push-up form.
Common mistakes & fixes
- Hips sagging: tighten glutes and abs; shorten the range if needed.
- Hips rotating toward the loaded side: recheck foot placement and keep hips square.
- Elbows flaring: tuck the outward elbow slightly; set the scapula before each rep.
- Neck strain: keep a neutral gaze and align head with spine.
Muscles worked & benefits
- Muscles worked: chest, front deltoid, serratus, lats, plus core obliques and glutes for bracing.
- Benefits: builds unilateral loading, enhances core stability and anti-rotation, supports shoulder health.
Progression Blueprint: From Prerequisites to MVP Level Up to One-Arm Push-Up
Prerequisites & baseline
- Comfortable with standard push-ups and a solid core brace; able to keep hips level.
- Ability to perform incline archer pushes with controlledTempo to build unilateral loading.
Tempo & time-under-tension guidelines
- Time under tension archer is built with a 5-second bottom position hold on every rep.
- Use a controlled descent (about 3 seconds) and a steady ascent (2–3 seconds); adjust to maintain form.
- Add paused bottom holds or slower reps to emphasize strength without compromising technique.
MVP Level Up progression
- Weeks 1–2: incline archer push-ups, 4 sets x 4–6 reps per side; bottom hold 5 seconds.
- Weeks 3–4: floor archer push-ups, 4–5 sets x 3–5 reps per side; bottom hold 5 seconds; tempo 3/2.
- Weeks 5–6: introduce unilateral loading progressions (assisted one-arm variants or negative reps), 3–4 sets x 2–4 reps per side.
Transition to single-arm push-ups
- Move to supported one-arm progressions, then to full one-arm push-ups as strength allows.
- Maintain a tight core, square hips, and steady breathing throughout.
Variations, Programming & Injury-Safe Training: Equipment-Free vs Equipment-Based Options
Equipment-free variations
- Start with a standard archer push-up form: one arm loaded, the other extended out to the side. Keep the shoulders stable and the ribcage tucked.
- Use a bottom position hold (2–3 seconds) to boost time under tension archer and build control before adding depth.
- Progress from incline (hands on a bench) to floor to increase demand gradually.
Equipment-based progressions
- Rings or suspension trainers amplify anti-rotation challenges; adjust height for easier or harder leverage.
- Add unilateral loading by placing a small plate or dumbbell under the working hand or wearing a light weighted vest to raise overall load.
- Use tempo variations and deeper range with parallettes to refine archer push-up form without compromising shoulder health.
Core & anti-rotation drills
- Pallof press, side planks, and a controlled bottom position hold complement the push-ups by stabilizing the torso during unilateral loading.
Sample 4-6 week programming
- Weeks 1–2: 3x6–8 per side, tempo 2–0–2, bottom hold 2 seconds.
- Weeks 3–4: slow tempo (3–4 seconds descent), 1-second pause at height.
- Weeks 5–6: introduce rings or add weight for progression; 4x6–8.
Common mistakes and fixes
- Elbow flare, hips shift, shallow ROM—cue the ribcage down and move from the shoulder blade, not just the chest.
Shoulder health cautions
- Warm up thoroughly; stop if pain persists; maintain scapular control and a neutral spine throughout.
Hip cautions
- Keep hips level; avoid twisting. If needed, shorten ROM or adjust stance to preserve pelvic alignment.
Frequently asked questions
What is an archer push-up?
An archer push-up is a unilateral pressing move where one arm bears most of the load while the other stays extended for stabilization, promoting anti-rotation and core control as you press.
What muscles do archer push-ups work?
Muscles worked include the chest, front deltoids, serratus, and lats, plus the obliques and glutes for bracing to support a stable torso.
Can beginners do archer push-ups, or are they only for advanced trainees?
Yes, beginners can start with incline archer push-ups and progress as strength and form improve; ensure you can do standard push-ups with a solid core brace and level hips before advancing.
Do you need any equipment to perform archer push-ups, or can they be done bodyweight?
Archer push-ups can be done bodyweight—start with incline versions and progress to floor. Optional equipment like rings, suspension trainers, or light external loads can increase difficulty but aren’t required.
About the authors

Goran Huskić
Co-founder · Professional basketball player
Goran Huskić is a Serbian professional basketball player — a 6'11" center currently playing for Monbus Obradoiro in Spain's Primera FEB. He won the 2019–20 Basketball Champions League with San Pablo Burgos and has competed professionally across Spain, Germany, Lithuania, Serbia and the United States. He co-founded PUSHapp to bring pro-level training discipline to everyday workouts.
Nikola Janković
Co-founder · Former professional basketball player
Nikola Janković is a former professional basketball player — a 6'9" forward and the 2016–17 ABA League MVP — who played for Partizan, Union Olimpija and Mega, among others. Today he runs a pilates studio and gym focused on strength, mobility and overall wellbeing. He co-founded PUSHapp to make consistent, measurable training simple for everyone.