
How Many & Who
Wall Pushups for Women: Beginner Guide
Learn wall pushups for women with a beginner-friendly plan: technique, benefits, and progressions for low-impact upper-body work.
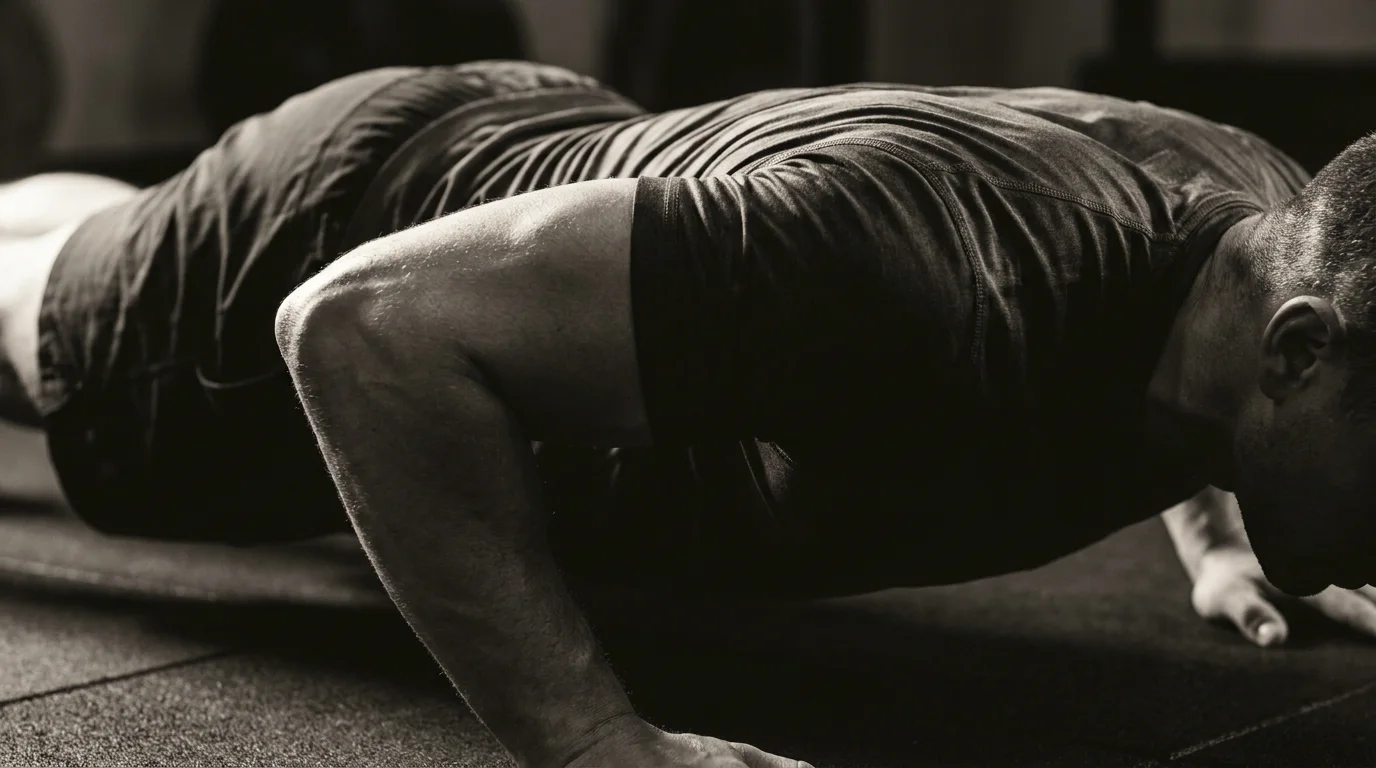
Mastering Wall Pushups: Form, Muscles, and Safety
Setup and stance: wall distance, foot position, and hand placement
- Stand about an arm's length from a sturdy wall.
- If you're wondering how to do wall pushups for beginners, start with more distance and gradually shorten as you feel steadier.
- Feet hip-width apart, one foot slightly forward to help balance.
- Hands aligned at shoulder height on the wall, slightly wider than your shoulders.
- Pressure through the palms; wrists neutral.
Technique cues: keeping elbows close, avoiding hip sway
- Bend elbows in toward your ribs; keep them roughly at a 45-degree angle.
- Tighten core and glutes to prevent hips from sagging or piking.
- Move only from the shoulders and arms; keep back flat and head neutral.
Wrist and shoulder safety: neutral alignment and pain management
- Keep wrists in line with forearms; avoid bending them backwards.
- If you feel wrist or shoulder pain, shorten the range or move your hands higher up the wall; stop if pain persists.
Muscles targeted and benefits: chest, shoulders, back, core
- Primary: chest and front shoulders; secondary: upper back and triceps.
- For wall pushups for women, this low-impact bodyweight exercise builds chest and core stability and serves as a bridge to beginner pushups or modified pushups in a home workout.
A 4–6 Week Progressive Plan for Beginners and Women
Week-by-week timeline (Weeks 1–6): goals, reps, and sets
- Week 1: 3 sets × 8–10 reps; stand 6–12 in from wall; tempo 3s down, 0–1s pause, 2s up; rest 60–90s.
- Week 2: 4 × 8–12; distance similar or slightly closer; tempo unchanged; rest 60–90s.
- Week 3: 4–5 × 10–12; shoulder-width hands; move a touch closer for a bit more load; rest 60–90s.
- Week 4: 5 × 12–15; add a 0–1s pause at bottom; rest 60–90s.
- Week 5: 5 × 15–20; vary grip or inch closer to wall for challenge; rest 60–90s.
- Week 6: 6 × 15–20; form first, then, if solid, begin one-arm progression (4–6 reps per side with assist as needed).
Tempo and rest guidelines: control the movement and recovery
- Tempo: 3 seconds down, 0–1 second pause, 2 seconds up; brace core; keep hips neutral.
- Rest: 60–90 seconds between sets; extend to 2 minutes if fatigue compromises form.
Progressions by cue: adjusting distance, hand position, and feet stance
- Distance: farther = easier; closer = harder.
- Hand width: wider targets chest; narrower emphasizes triceps.
- Feet: shoulder-width or staggered stance to add core demand.
Equipment substitutes and at-home setup: door frame, countertop, and stability tips
- Door frame: press into a sturdy frame at chest height; ensure frame won’t shift.
- Countertop: perform as a gentler incline; keep body straight.
- Stability tips: feet rooted, hips square, ribcage down; push with controlled tempo.
Safe advance to more challenging variations (including one-arm options with safeguards)
- Readiness: solid form and 3 sets of 12–15 clean reps on wall pushups.
- One-arm path: Week 6, try one-arm on wall for 4–6 reps per side with the other hand on hip; keep hips square and progress slowly. Stop if form breaks.
Variations, Warm-Up, Cooldown, and Common Pitfalls
Variations by difficulty: from basic to added challenge
- Basic two-arm wall pushups: stand 1–2 feet from wall, hands at chest height, elbows ~45 degrees. 8–12 reps. A home-workout friendly, bodyweight exercise.
- How to do wall pushups for beginners: position hands at chest height, lean in with a straight line, then press away with control.
- Narrow or wide grip: closer hands increase triceps load; wider hands emphasize the chest.
- Added challenge: increase lean, slow the descent, or add a 2-second bottom pause.
- One-arm wall pushups for beginners: use the other hand on hip or higher on wall to share load; progress when stable.
Warm-up and mobility: shoulder circles, chest openers, and wrist prep
- 30–60 seconds shoulder circles (forward and back).
- Gentle chest opener on the wall or doorway.
- Wrist circles and light finger stretches.
Cooldown and recovery: gentle stretches for chest, shoulders, and back
- Doorway chest stretch 20–30 seconds per side.
- Cross-body shoulder stretch 15–20 seconds per side.
- Thoracic spine or child’s pose stretch.
Common mistakes and fixes: elbow flare, hip sway, grip and stance adjustments
- Elbow flare: keep elbows at 45 degrees; avoid flaring out.
- Hip sway: brace core; keep hips level.
- Grip/stance: hands under shoulders, feet hip-width; adjust distance to wall for comfort. If pain arises, back off height or range and reassess alignment.
Frequently asked questions
Are wall pushups easier than standard pushups?
Yes. Wall pushups are a low‑impact, beginner‑friendly way to learn push mechanics; you can adjust difficulty by stepping farther from or closer to the wall.
How do you perform a wall pushup correctly?
Stand about an arm’s length from a sturdy wall, feet hip‑width apart, hands at chest height slightly wider than your shoulders, and elbows tucked at about 45 degrees; keep your core braced, hips level, and press away with a controlled tempo.
What muscles are worked by wall pushups?
Primary: chest and front shoulders; secondary: upper back and triceps; they also build core stability to keep the spine neutral.
How many wall pushups should a beginner do?
Start with 6–8 reps for 2–3 sets on non‑consecutive days and build from there as you gain control.
About the authors
Goran Huskić
Co-founder · Professional basketball player
Goran Huskić is a Serbian professional basketball player — a 6'11" center currently playing for Monbus Obradoiro in Spain's Primera FEB. He won the 2019–20 Basketball Champions League with San Pablo Burgos and has competed professionally across Spain, Germany, Lithuania, Serbia and the United States. He co-founded PUSHapp to bring pro-level training discipline to everyday workouts.
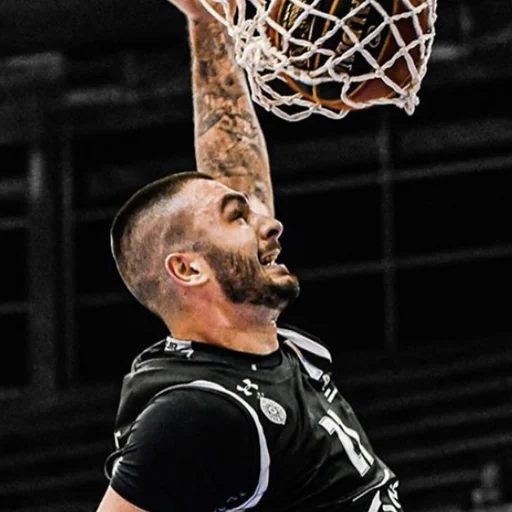
Nikola Janković
Co-founder · Former professional basketball player
Nikola Janković is a former professional basketball player — a 6'9" forward and the 2016–17 ABA League MVP — who played for Partizan, Union Olimpija and Mega, among others. Today he runs a pilates studio and gym focused on strength, mobility and overall wellbeing. He co-founded PUSHapp to make consistent, measurable training simple for everyone.