Workouts & Programs
Pushup Routine: Progressive Guide
Discover a structured pushup routine with progressions, form cues, and variations to build chest, shoulders, triceps, and core.
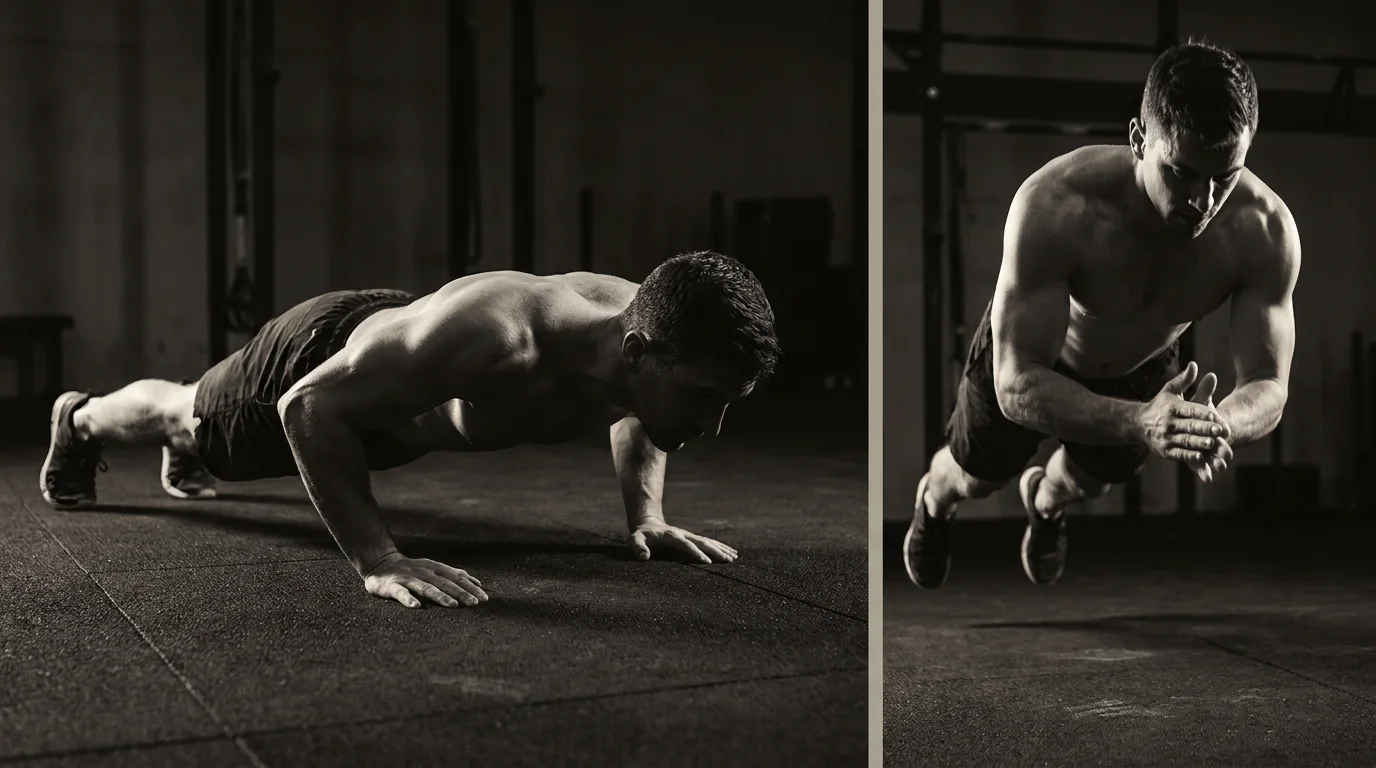
Push-up Form and Mechanics: Mastering the Basics
Setup and neutral spine
- Hands under or slightly wider than shoulder width; fingers forward.
- Feet hip-width apart; stay active through legs.
- Neutral spine: ears over shoulders, chest open, hips in line with spine.
- Scapular control: pull shoulder blades down and toward the spine; ribcage stays quiet.
- Core bracing and pelvic alignment: brace the core, keep hips level, glutes engaged.
Elbow position and ROM targets by level
- Beginner: elbows ~45 degrees to torso; descend to chest height or until you lose alignment.
- Intermediate: lower until upper arms are near parallel to the floor.
- Advanced: full depth with chest close to the floor while maintaining midline.
Scapular control and ribcage engagement
- Maintain the scapular setup; avoid shrugging or flaring the ribs.
Breathing, bracing, and pelvic/spinal alignment
- Inhale on the way down, exhale up; keep core braced and pelvis steady.
Variations, Tempo, and Progressions by Level
Tempo-based schemes and rep ranges
- Level 1 (Beginner push-up): 3-0-3-0 tempo, 6-10 reps; use incline or knee push-ups.
- Level 2: 2-0-2-0 tempo, 8-14 reps; standard push-ups with full ROM.
- Level 3: 2-1-1-0 tempo, 6-12 reps; diamond or wide push-ups.
- Level 4: 1-0-1-0 tempo, 4-8 reps; decline, Pike, or one-arm progression.
Level-by-level progression with ROM targets
- Level 1: bottom elbow roughly 70–100°, chest 2–3 inches from the surface.
- Level 2: bottom elbow about 60–90°, chest 2–3 inches from floor.
- Level 3: bottom elbow ~50–70°, chest 1–2 inches from floor.
- Level 4: bottom elbow ~40–60°, chest near the floor for most variations.
Incline push-ups: how to perform
- Hands on a sturdy surface, shoulder-width apart; body in a straight line.
- Lower chest toward the surface, then press back up; maintain alignment.
Diamond push-ups and wide push-ups: cues
- Diamond: hands form a diamond under sternum; elbows tuck in; chest lowers to surface.
- Wide: hands wider than shoulders; elbows track slightly out; brace your core.
Decline, Pike, and one-arm progression
- Decline: feet on an elevated surface; keep a straight line as you press.
- Pike: hips high, shoulders over hands; aim for a controlled press.
- One-arm progression: start with supported variations (e.g., elevated hand or partial weight), progress to true single-arm push-ups.
Common mistakes and fixes for variations
- Sagging hips: brace the core and glutes.
- Elbows flaring: keep elbows at a steady angle per variation.
- Incomplete ROM: use a tempo cue and target a clear bottom position.
Structured Weekly Plan, Warm-Up, Injury Prevention, and Milestones
4- to 6-week progression roadmap
- Week 1: Wall push-ups 3×8–12. Focus on scapular control and a neutral spine.
- Week 2: Incline knee push-ups 3×8–12. Progression without equipment.
- Week 3: Floor push-ups with partial ROM 3×6–10. Maintain tight core.
- Week 4: Floor push-ups full ROM 3×8–12.
- Week 5: Add bottom-position isometric hold 10–15s after each set.
- Week 6: Full push-ups with 2s down, 2s up tempo; add 1–2 reps if possible.
This equipment-free progression supports a solid, beginner program and aligns with how to do push-ups correctly, even for beginners.
Warm-up, activation, and bracing sequence
- 3 minutes light movement (marching in place, arm swings).
- Scapular activation: 10 wall-scap squeezes or wall slides.
- Core bracing cue: brace as if about to take a punch; ribs and hips stay stable.
Weekly templates and milestones
- Milestones: Week 2–8–12 reps per set; Week 4–full ROM; Week 6–tempo and deeper control.
Isometric holds and tempo integration
- Bottom holds 10–15s after each set (weeks 5–6).
- Tempo: 2s down, 0–1s pause, 2s up.
Injury prevention and form checks
- Keep neck neutral, hips level, spine aligned; avoid sagging.
- If pain arises, pause and reassess scapular control.
Equipment-free progression paths
- Options: wall, incline, or floor knee push-ups; progress to full ROM with mindful form. If wrists flare, switch to fists or incline positions.
Frequently asked questions
What is the proper push-up form?
Stand with hands under or slightly wider than shoulder width, feet hip-width apart, and a neutral spine. Keep scapular control, ribcage quiet, and core braced with hips level throughout the movement. Inhale on the way down, exhale on the way up while maintaining alignment.
How do I progress from beginner to full push-ups?
Follow the level-based progression: start with wall or incline/push-ups, advance to floor push-ups with partial ROM, then full-depth floor push-ups, using tempo cues and ROM targets and adding isometric holds as you improve.
How can I modify push-ups if I can't do a full push-up?
Begin with incline or knee push-ups (or wall push-ups) and gradually reduce incline or increase ROM as strength builds, progressing to floor push-ups with partial ROM before aiming for full depth.
How do I structure a push-up routine for beginners or progression?
Use a 4–6 week plan: Week 1 wall push-ups, Week 2 incline knee push-ups, Week 3 floor push-ups with partial ROM, Week 4 full ROM, then add bottom‑position holds and tempo refinements as you advance.
About the authors

Goran Huskić
Co-founder · Professional basketball player
Goran Huskić is a Serbian professional basketball player — a 6'11" center currently playing for Monbus Obradoiro in Spain's Primera FEB. He won the 2019–20 Basketball Champions League with San Pablo Burgos and has competed professionally across Spain, Germany, Lithuania, Serbia and the United States. He co-founded PUSHapp to bring pro-level training discipline to everyday workouts.

Nikola Janković
Co-founder · Former professional basketball player
Nikola Janković is a former professional basketball player — a 6'9" forward and the 2016–17 ABA League MVP — who played for Partizan, Union Olimpija and Mega, among others. Today he runs a pilates studio and gym focused on strength, mobility and overall wellbeing. He co-founded PUSHapp to make consistent, measurable training simple for everyone.